How to Clean a Tobacco Pipe Without Damaging It
Use a conservative tobacco pipe cleaning routine with gentle tools, material checks, drying time, and clear reasons to stop before damage.
Written by
The Tobacco Pipe Editorial Team
The store editorial team reviews product facts, care boundaries, and buying guidance against the current catalog and source evidence.
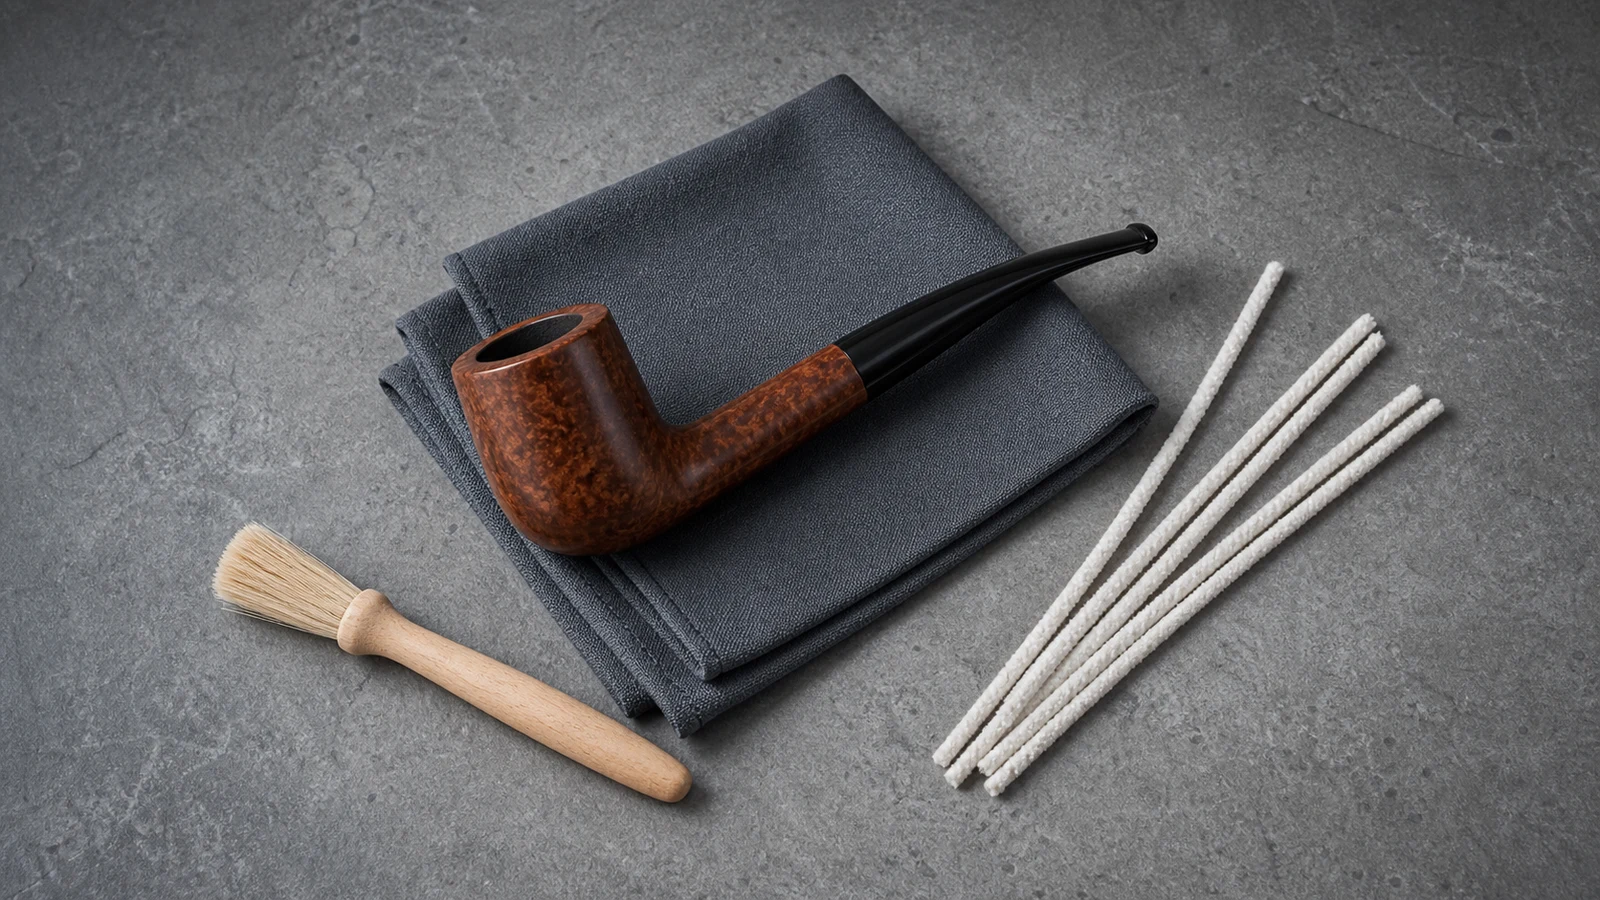
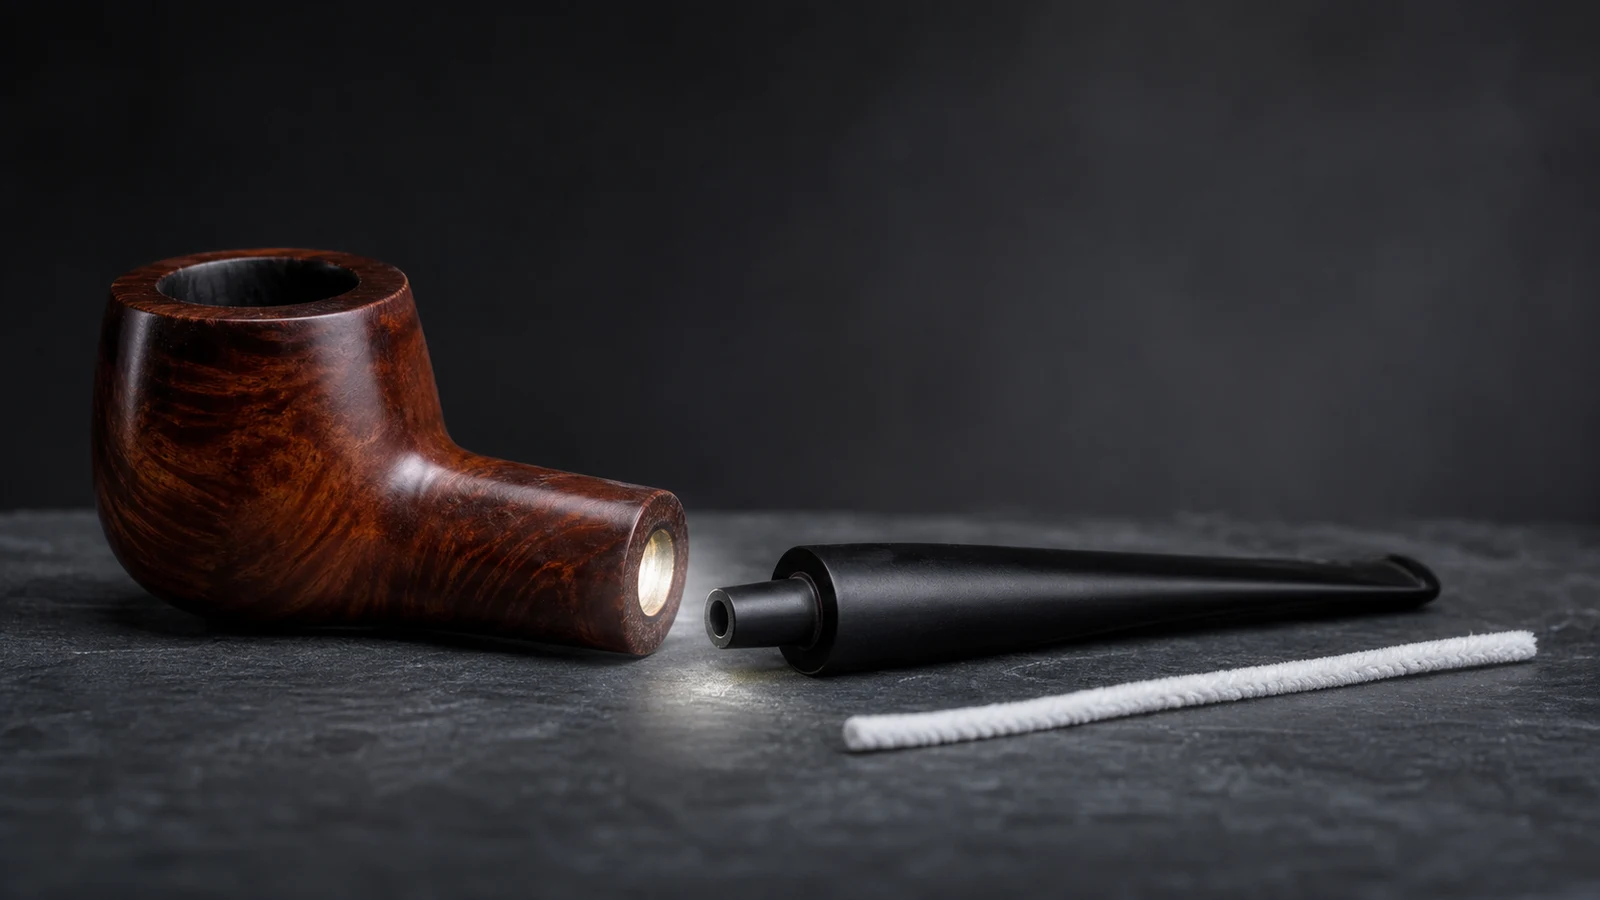
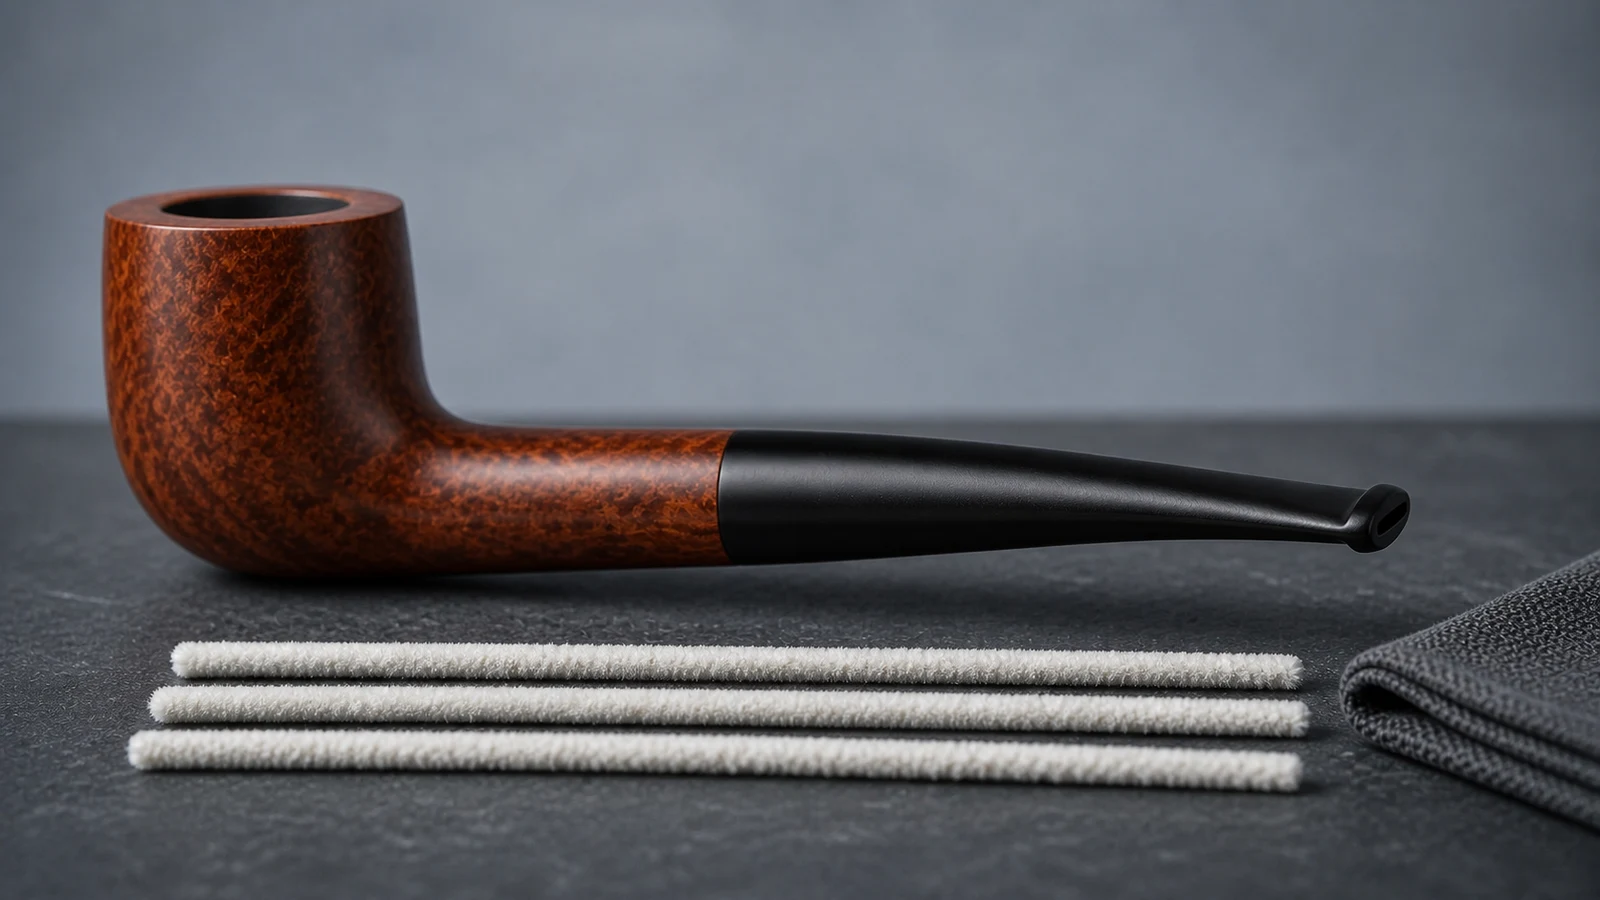
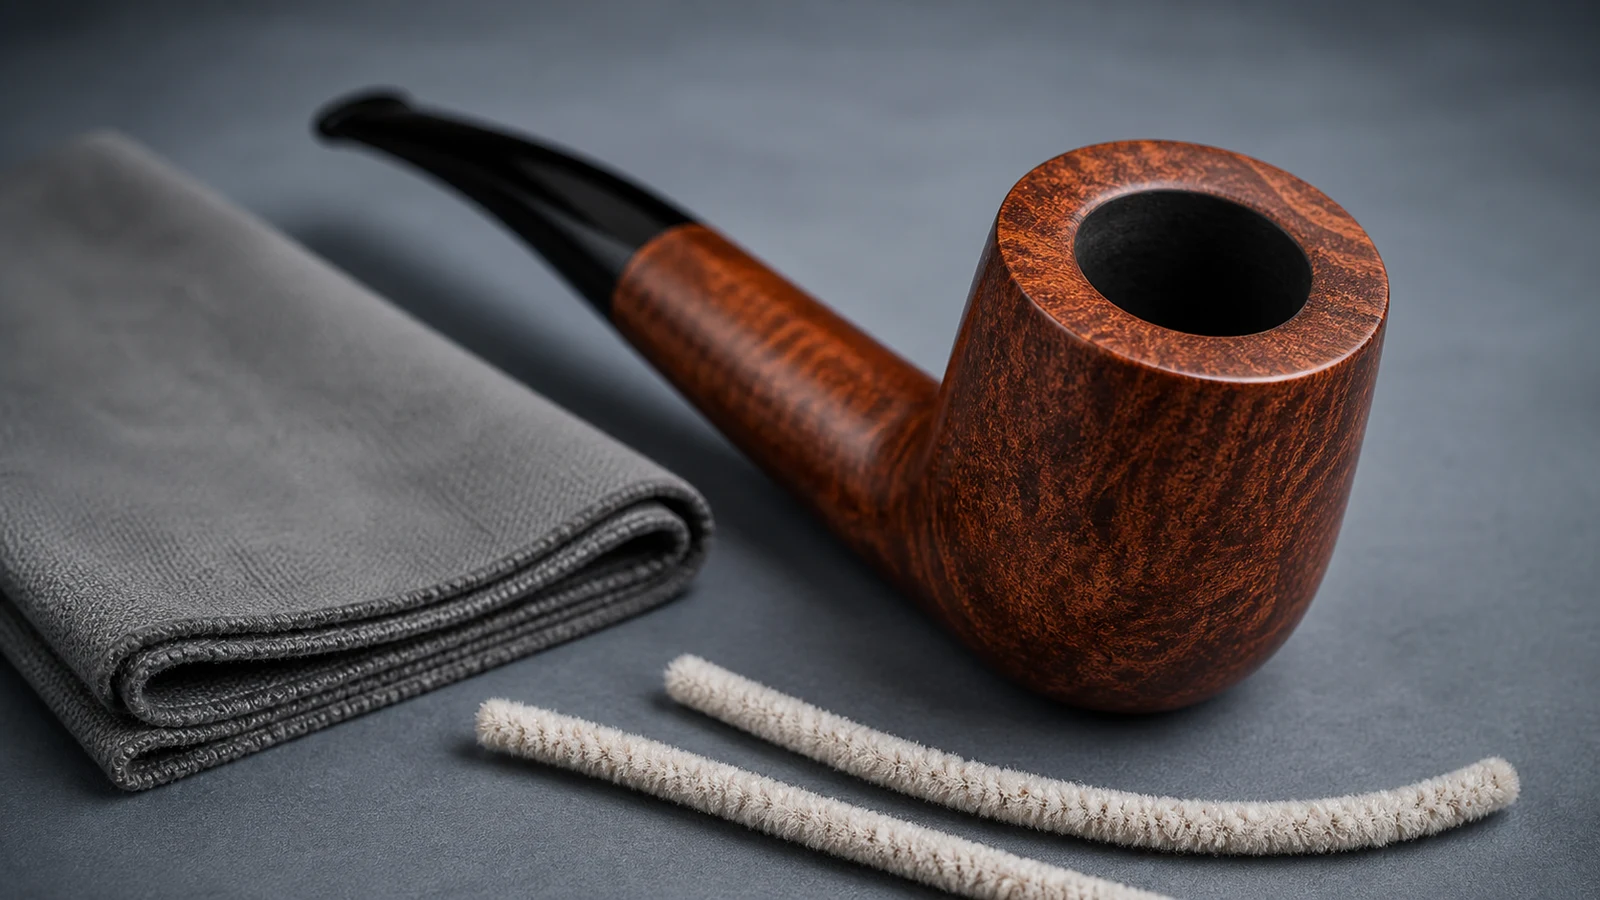
The most conservative general cleaning sequence is short: let the pipe cool completely, remove only loose residue, use a suitable pipe cleaner only while it moves with light control, and leave the pipe open to dry naturally. Stop if a part resists, a cleaner buckles or catches, a finish changes, or the pipe's material, filter arrangement, repair history, or construction is uncertain.
This page is the cleaning hub, not a complete procedure for every component. Pipes differ in bowl, stem, finish, tenon, insert, filter system, and prior condition. Use the routing table below to move from this overview to the one guide that matches the task instead of applying every cleaning method at once.
Choose the guide that owns the task
| What you are trying to do | Use this guide | Leave this hub when |
|---|---|---|
| Make a brief reset after use | After-use routine | The pipe is cool and only loose, accessible residue is present |
| Inspect the chamber or rim | Bowl-care guide | The question is cake, the rim, a lining, or a hard deposit |
| Clean the accessible stem or airway | Stem-and-airway guide | The assembly is known and a suitable cleaner moves with light control |
| Diagnose a cleaner that repeatedly stops | Clogged-airway troubleshooting | A normal pass fails or the restriction persists |
| Choose between cleaner types | Pipe-cleaner guide | Thickness, fibers, bristles, flexibility, or replacement is the open question |
| Assemble basic care tools | Cleaning-kit checklist | The question is what belongs in a routine kit |
| Assess a reamer and its fit | Reamer guide | Attached chamber buildup appears to need controlled reduction |
Restoration, a stuck joint, a damaged tenon, a cracked bowl, an unknown coating, or a previously repaired pipe does not belong to a generic cleaning procedure. Those conditions need pipe-specific instructions or hands-on assessment.
The shared low-intervention sequence
| Stage | General action | Stop signal |
|---|---|---|
| Cool | Support the pipe and wait until every part is at room temperature | Any remaining warmth |
| Inspect | Note loose residue, visible damage, the joint, and any filter or insert | Crack, loose component, unfamiliar assembly, or old repair |
| Tidy | Remove only material that is already loose | Hard or uneven deposit, scraping, cutting, or pressure would be required |
| Airway | Use a purpose-made cleaner that remains controllable | Core buckles, cleaner jams, abrupt stop, exposed wire, or leverage is needed |
| Exterior | Lift dust with a clean, soft, dry cloth only on a stable finish | Color transfer, tackiness, clouding, swelling, or flaking |
| Dry | Remove the cleaner and leave the pipe stable in ordinary air | Trapped moisture, direct heat, or closed damp storage |
This sequence is intentionally limited. The maintenance guidance from Savinelli and the specialist Smokingpipes cleaning guide both separate routine care from deeper maintenance. Neither source proves that one tool, liquid, disassembly method, or interval fits every pipe.
What a general routine should not become
Do not turn an ordinary cleaning session into restoration or obstruction removal. Do not soak an assembled pipe, apply a strong solvent to an unknown finish or stem, force a joint apart, drill an airway, push steel wire through a restriction, or scrape a hard chamber layer with an improvised tool.
A pipe cleaner may make light fiber contact with the airway, but it must remain controllable. If its core bows or buckles, it catches at the same point, or it requires pliers, twisting, or leverage, withdraw it. A curve, narrow passage, filter, adapter, condenser, misalignment, deposit, or old repair can all change the route. The failed pass identifies a new question; it does not justify more force.
Likewise, routine care does not require a bare-looking chamber or a newly polished exterior. Attached buildup belongs with the bowl and reamer guides. Oxidation, stain, finish wear, and restoration products depend on known materials and condition.
Stop and document these findings
End the routine if you find:
- a crack, split, loose fitting, shifted band, damaged tenon, or previous repair;
- a joint that resists or moves at an unexpected angle;
- a cleaner that buckles, jams, sheds heavily, or stops repeatedly;
- a hard, thick, uneven, or flaking chamber layer;
- an unknown lining, finish, stem material, filter, adapter, or insert;
- color transfer, tackiness, clouding, swelling, or flaking on the exterior;
- an unidentified odor, sticky residue, or inaccessible moisture.
Take clear photographs before attempting anything stronger. Record the maker, model, listing, stated materials, filter arrangement, and the point where a normal pass stopped. For questions about facts stated or omitted by a current store listing, use the contact page. A listing answer cannot replace physical inspection of possible damage.
Repair examples in the rebornpipes archive show why used, repaired, and unknown pipes are assessment cases rather than candidates for a universal deep-cleaning recipe.
Verify the individual pipe before choosing a method
Start with care instructions for the exact maker and model. Confirm the stated bowl and stem materials, finish, intended disassembly method, filter or adapter, known repairs, and any model-specific restrictions. Photographs can document visible shape and condition, but they do not prove hidden construction, chemical compatibility, or tool fit.
The product guide explains how to separate visible catalog facts from details that need confirmation. Current shop listings may provide photographs and source-described attributes for an individual item; they do not make one routine universal across the catalog.
Frequently Asked Questions
What is the best general way to clean a tobacco pipe?
Wait for complete cooling, remove only loose residue, use a controllable purpose-made cleaner for an accessible airway, and allow natural drying. Move to a component-specific guide when the task involves attached buildup, resistance, uncertain materials, or disassembly.
Can I soak a pipe to remove buildup?
Do not soak a pipe based on generic advice. Liquid can reach an unknown finish, adhesive, repair, insert, or material and may remain trapped in an assembled pipe. Deeper treatment needs instructions for the exact construction and condition.
How often should a tobacco pipe be cleaned?
Use observed condition and model-specific guidance rather than a universal count. A brief after-use check is different from periodic deeper maintenance. Repeated resistance, hard buildup, or an unidentified residue is a reason to stop and reassess the task.
What if I do not have a suitable pipe cleaner?
Wait until a purpose-made option of suitable fit is available. Do not improvise with wire, needles, drill bits, or other hard household objects.
Use this hub to choose the right branch, then keep the work narrow. Cooling, observation, light control, natural drying, and an early stop preserve more information than an aggressive one-session clean.
Related posts
Product notes, store updates, and purchase guidance for the storefront.