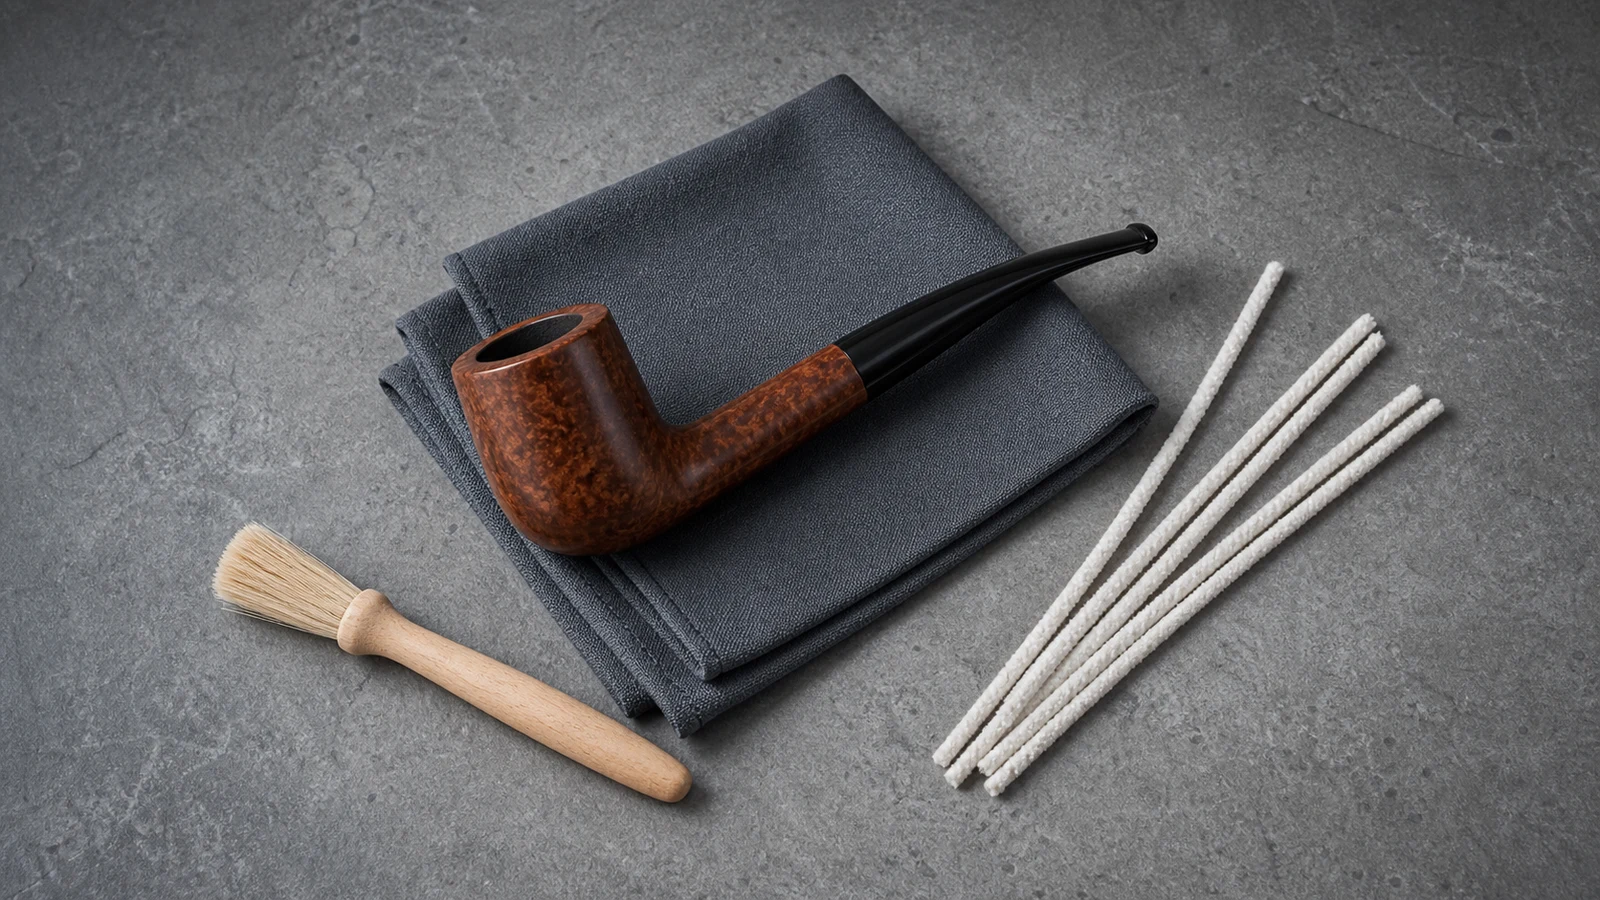
How to Clean a Tobacco Pipe Stem and Airway
Clean a tobacco pipe stem and airway with correctly sized cleaners, gentle passes, material awareness, and clear obstruction stop conditions.
Written by
The Tobacco Pipe Editorial Team
The store editorial team reviews product facts, care boundaries, and buying guidance against the current catalog and source evidence.
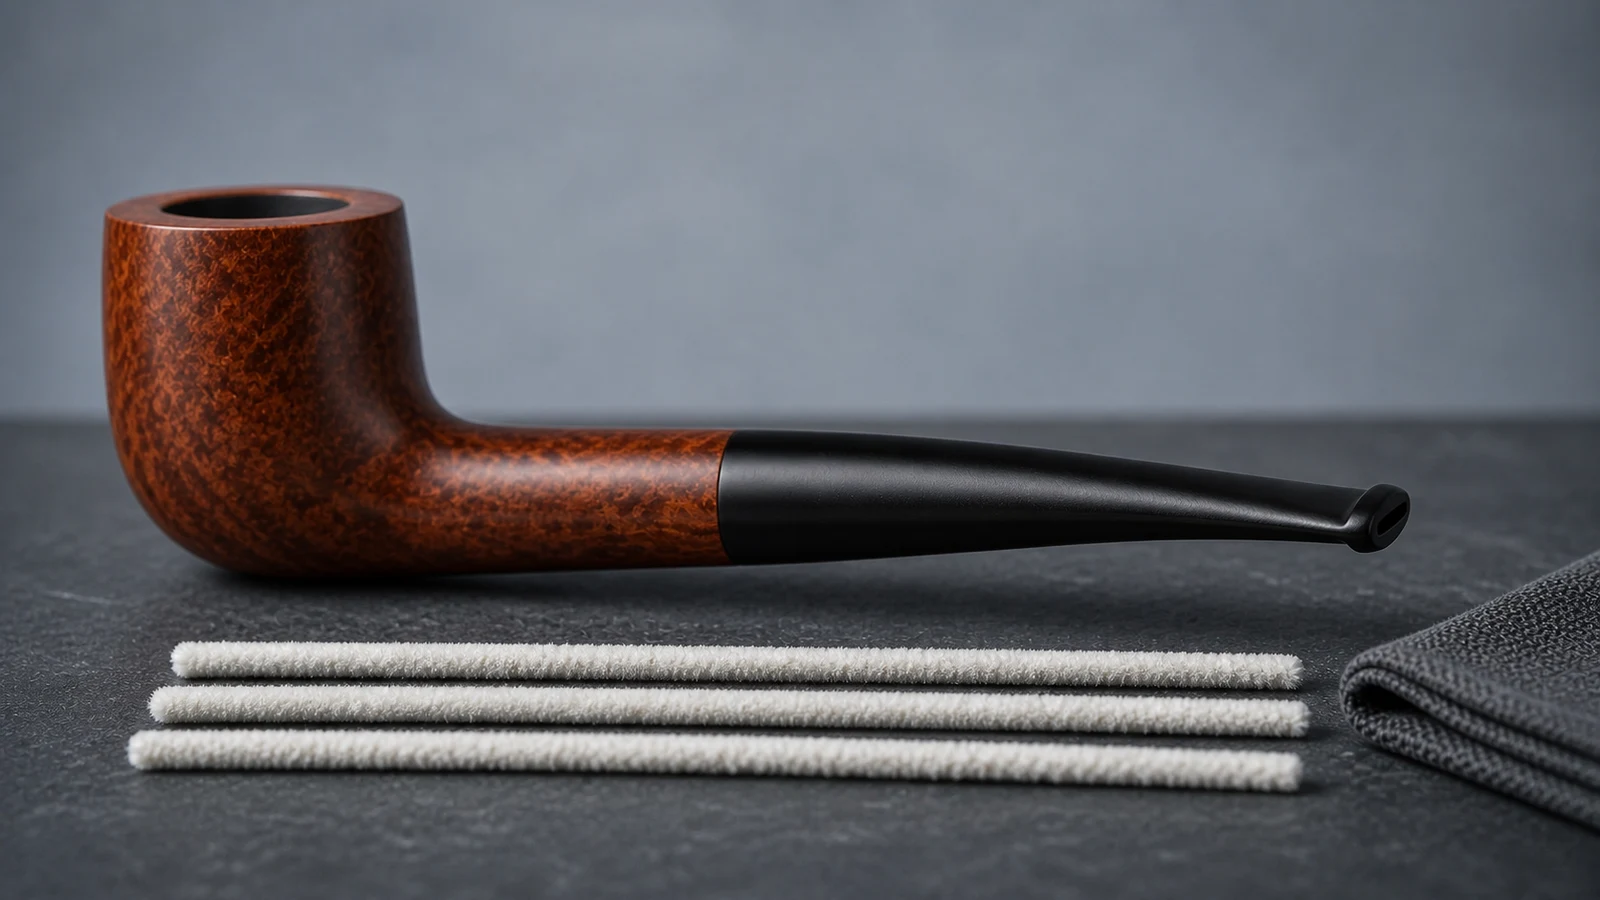
To clean a tobacco pipe stem and airway conservatively, let the entire pipe cool, confirm the assembly and any filter arrangement, then use a soft purpose-made pipe cleaner whose fibers make light, controlled contact with the accessible airway. Guide it with short movements that follow the visible entry path. Withdraw it if the wire core bows or buckles, the cleaner catches, or the pass needs leverage, then let the stem and passage dry naturally before storage or reassembly.
This is a stem-and-airway routine, not bowl cleaning, restoration, oxidation removal, or obstruction repair. Stem materials, finishes, internal bends, tenons, adapters, and previous repairs vary. Do not soak the stem, apply strong solvent, force disassembly, push wire through a blockage, drill the airway, or assume that a cleaner must pass end to end. No generic process can guarantee a damage-free result.
This guide owns the accessible stem and airway, not chamber deposits or hidden blockage removal. Start with the broader cleaning Hub, then use the pipe-cleaner guide when the unresolved question is tool construction or fit.
Stem and airway decision table
| Observation | Appropriate next step | Stop condition |
|---|---|---|
| Pipe is still warm | Wait on a stable support | Any warmth remains |
| Assembly is unknown | Check listing or maker instructions | Separation method or filter status is unclear |
| Cleaner makes light fiber contact | Use short, aligned movements that follow the visible entry path | Wire core bows or buckles, cleaner snags, or movement needs leverage |
| Cleaner forms a dense plug or jams | Withdraw and choose a suitable smaller or softer cleaner | Metal core cannot remain controlled |
| Cleaner stops internally | Withdraw gently and document where it stopped | Never push through, drill, or use wire |
| Exterior is dusty | Use a clean, soft, dry cloth on a stable finish | Color transfer, clouding, tackiness, or flaking |
| Accessible area is damp | Leave open to ordinary air | Avoid heat and enclosed storage |
The central rule is simple: a cleaner should fit the airway; the airway should not be forced to fit the cleaner.
Cool first and identify the assembly
Wait until the bowl, shank, stem, and any band or fitting are all at room temperature. Keep the pipe supported so it cannot roll. Do not accelerate the process with water, refrigeration, or forced heat or air.
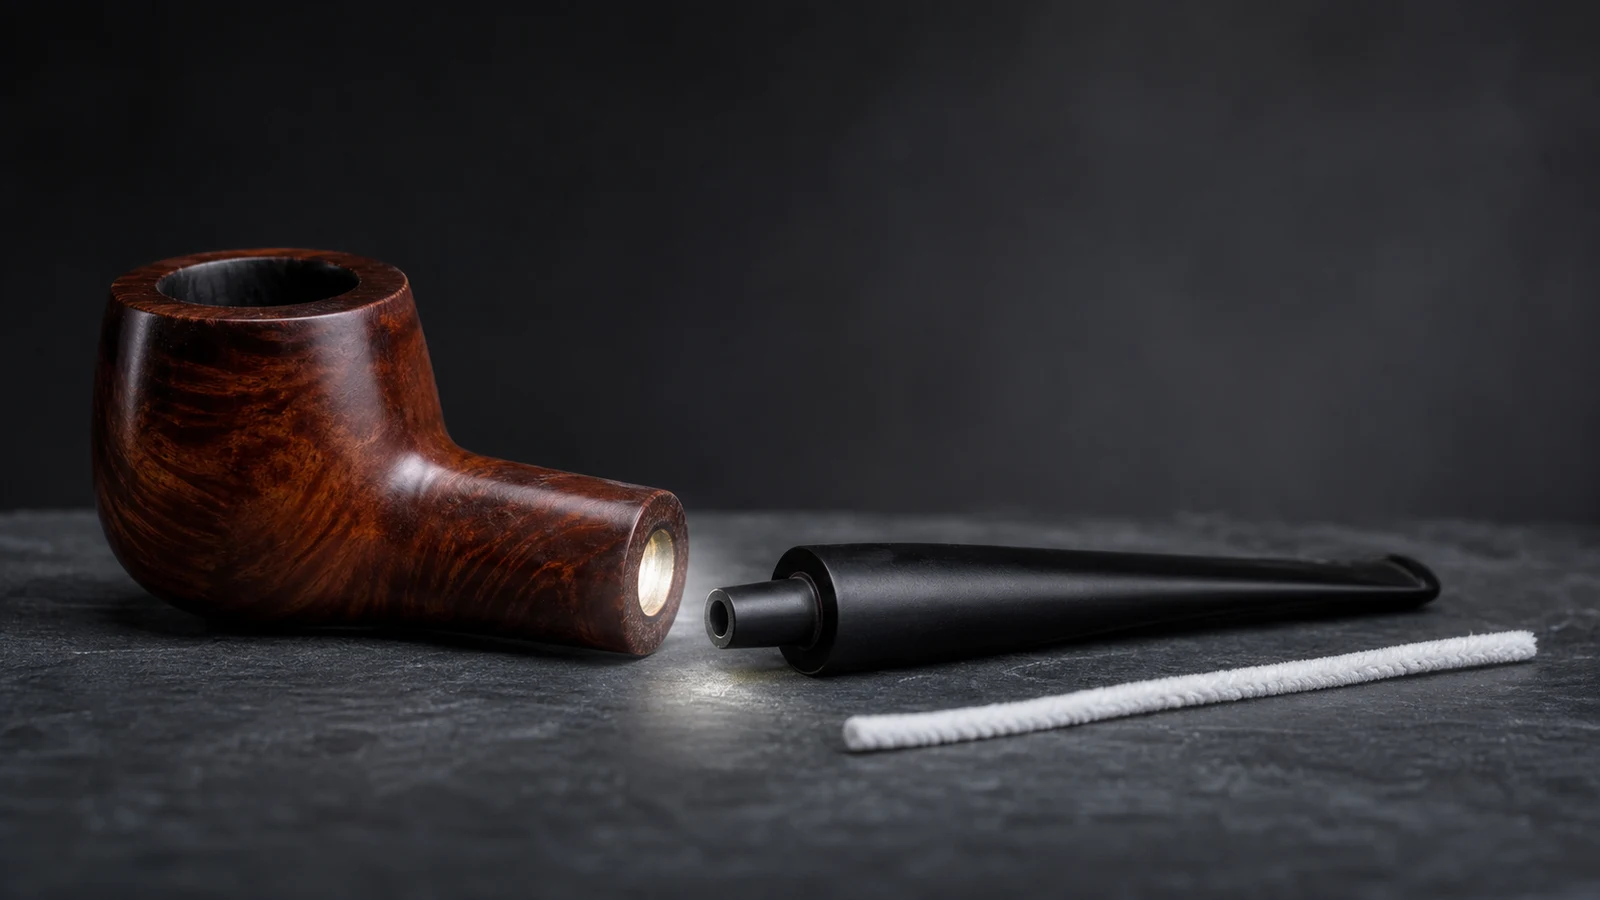
While waiting, identify what the listing or maker actually says. Is the stem intended to detach? Is there a filter, adapter, condenser, or other insert? Are the stem material and finish stated? Has the joint been repaired? A photograph can reveal a visible seam or mouthpiece shape, but it cannot confirm internal construction or compatibility.
If you cannot establish how the assembly works, clean only what is readily accessible without separation. The product guide provides a broader checklist for distinguishing visible facts from details that require seller or maker confirmation.
Choose pipe cleaner sizing by fit, not assumption
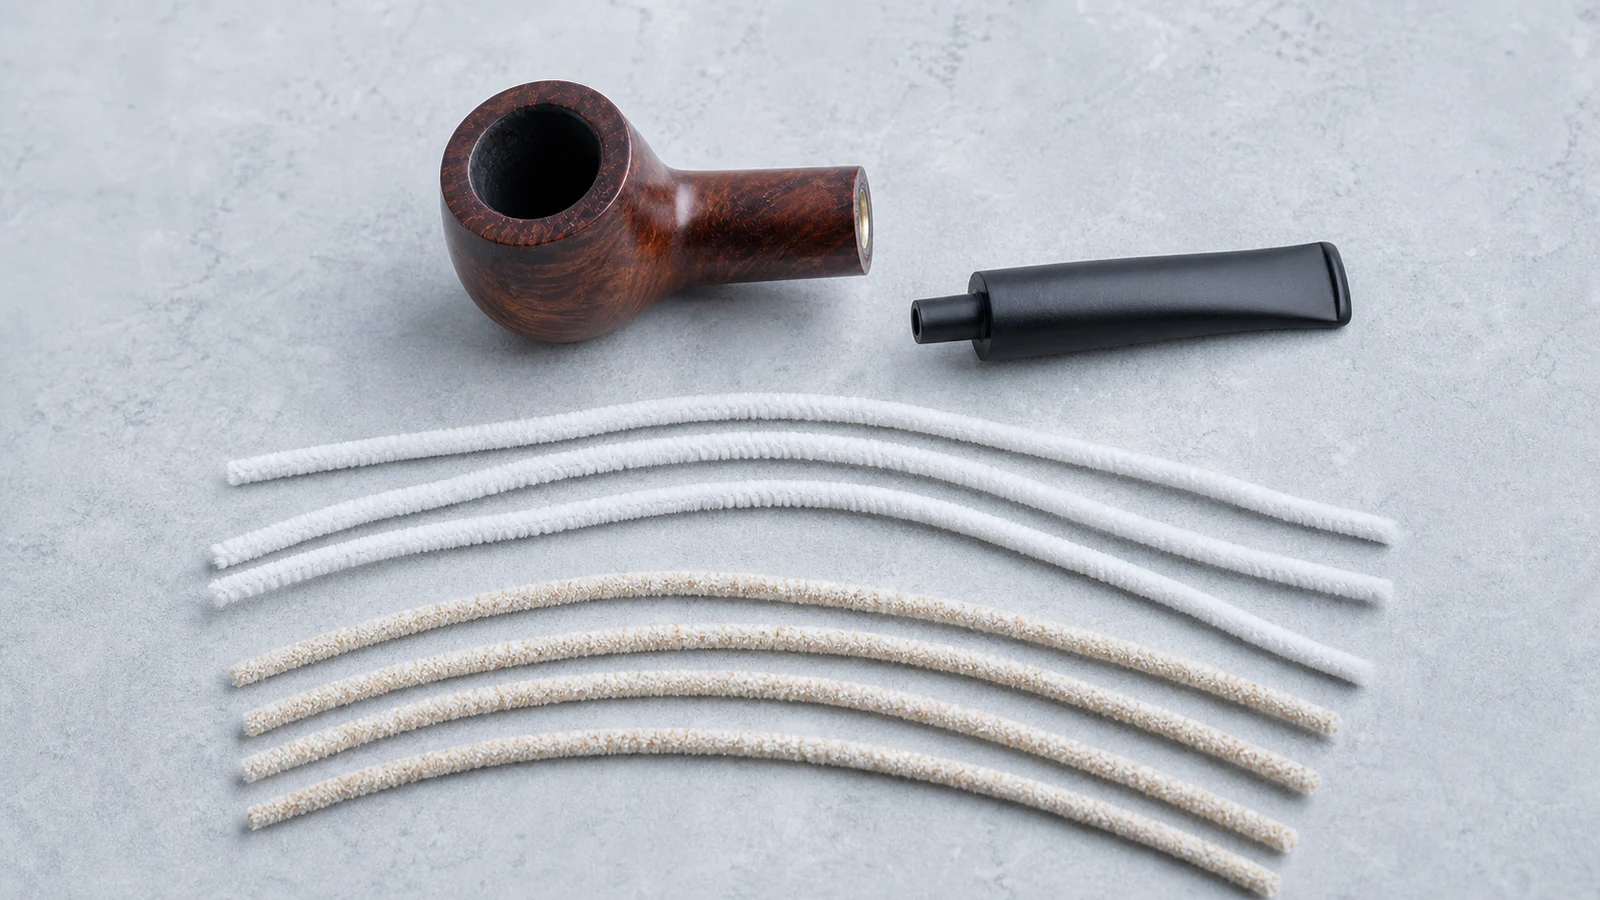
Purpose-made pipe cleaners vary in thickness, firmness, texture, and taper. Begin with a soft option that aligns with the visible opening and enters under light fingertip guidance. Light fiber contact or slight compression can be normal because the fibers are meant to touch the accessible passage. The cleaner should not form a dense plug, fold sharply, or need to be driven with a tool.
“Fits” means that the wire core remains controllable while the cleaner advances under light fingertip guidance and can be withdrawn cleanly. A cleaner is too tight when its core bows or buckles, it jams, or progress requires twisting, pliers, or leverage. A stiff or abrasive cleaner may catch at a bend or fitting. An option that is too small may pass easily but make limited contact. The correct choice depends on the actual passage, not a universal product size.
That low-force use matches the maintenance context in Savinelli's manufacturer guide and the specialist Smokingpipes cleaning guide. Those sources are a starting point, not proof that a named cleaner fits an unknown bend, filter system, or airway diameter.
If a catalog listing specifies a filter size or airway-related feature, treat that as a source claim for the individual item. Do not infer that every cleaner or replacement component carrying a similar number is compatible. Confirm the relevant dimensions and design before buying or inserting an accessory.
Use gentle passes through accessible sections
Align the cleaner with the visible opening. Feed it slowly with short movements rather than one long push, following only the entry path that can be observed and controlled. Do not try to straighten the route or force the cleaner toward an assumed exit: airways may curve, narrow, or meet a joint at an angle. Withdraw the cleaner gently, inspect it for exposed wire, loose fibers, or debris, and replace it when it no longer moves cleanly.
Do not assume that success means the cleaner must emerge at the opposite end. Some passages curve, narrow, meet at an angle, or include a removable element. A routine pass through an accessible portion may be all the design allows without further, pipe-specific handling.
Repeated back-and-forth movement with pressure is not more thorough. It can turn a fit problem into damage. If a cleaner catches, rotate neither the tool nor a connected stem aggressively. Relax the pressure and withdraw along the entry path.
Treat resistance as an obstruction warning
Sudden resistance has several possible explanations: a bend, a smaller bore, a filter or adapter, accumulated residue, a shifted component, an old repair, or a cleaner that is too large. A generic article cannot diagnose which one is present from feel alone.
Stop if the cleaner buckles, binds, stops at the same point on repeated light attempts, or cannot be withdrawn normally. Do not push with pliers, replace it with steel wire, insert a needle, apply compressed air, or drill the passage. Do not pour solvent into the airway hoping to dissolve an unidentified obstruction.
Record how far the cleaner traveled without forcing it and photograph the external assembly. Then consult maker instructions or an experienced repairer. For a current store item, the contact page can clarify facts stated or omitted by the listing, although a hands-on inspection may still be needed.
When a light attempt stops at the same place twice, move to the clogged-airway triage instead of repeating routine stem care. Repair casework in the rebornpipes cleaning archive also shows why tenon condition, alignment, inserts, and prior repair need direct inspection before a stronger method is chosen.
Do not force the stem from the shank
The common instruction to remove a stem is incomplete unless the design and condition are known. Only separate parts when the pipe is fully cool, the joint is documented as removable, and it moves with the light handling specified for that construction. Support both components close to the joint.
If the stem resists, feels loose at an unexpected angle, creaks, or reveals a crack, stop. Do not increase leverage, twist repeatedly, heat or chill the joint, or add lubricant or solvent. Those methods introduce material-specific risks and can disturb an old repair.
When a removable filter or adapter is present, note its orientation and keep it with the pipe. Do not wash, reuse, replace, or discard it until its type and the maker's instructions are confirmed. Visual similarity is not proof of fit.
Clean the exterior only within known finish limits
For stable surface dust, a clean, soft, dry cloth and very light pressure are a reasonable starting point. Keep the cloth away from an opening if it sheds fibers. Do not assume that discoloration is ordinary dirt: it may be oxidation, finish wear, material change, or evidence of a repair.
Stop if color transfers to the cloth, the surface turns cloudy or tacky, a logo or inlay shifts, or the finish flakes. Alcohol, bleach, strong household solvent, abrasive polish, sandpaper, steel wool, and soaking are not universal stem care. Restoration of appearance is a different task from routine airway cleaning and should follow confirmed material-specific guidance.
The current shop can provide listing photographs and source-described attributes for catalog items. Use those facts to ask better questions, not to declare a treatment compatible without confirmation.
Dry the airway without heat
Remove the cleaner after the final gentle pass; do not leave it stored in the airway. Set separated parts, if separation was appropriate, on a clean stable support where ordinary air can circulate. Keep them away from direct sunlight, heaters, hair dryers, compressed air, and closed damp containers.
Do not reassemble accessible surfaces while they remain damp. There is no universal drying time because climate, material, passage design, and the amount of accessible moisture vary. Reassemble only according to the pipe's specific instructions after the parts are at room temperature and visibly dry.
If moisture appears trapped behind an insert or in an inaccessible area, stop. Do not pry out the element or add heat. Prefer a qualified assessment to escalating a simple cleaning session.
Frequently Asked Questions
What size pipe cleaner should I use for a tobacco pipe stem?
Use a soft purpose-made cleaner that enters the confirmed accessible airway without force and can be withdrawn without snagging. There is no universal size. Passage diameter, bend, filter system, and construction differ by pipe.
What should I do if the cleaner will not pass through?
Withdraw it gently and stop. Check whether the pipe has a bend, filter, adapter, or design that prevents an end-to-end pass. Do not force the cleaner, use wire, drill the airway, or apply solvent to an unidentified obstruction.
Can product photos confirm the airway or tenon condition?
They can show visible openings, joint surfaces, and external damage in the photographed areas. They cannot confirm the full internal airway, alignment, hidden cracks, tenon fit under load, or compatibility with a specific filter or cleaner.
Should I remove the stem every time I clean the airway?
Not automatically. Separation depends on the documented design, complete cooling, and current condition. If the joint is unknown or resistant, leave it assembled and seek specific guidance rather than forcing it.
Where can I verify a current listing's stem details?
Check the individual item in the shop for photographs and stated attributes, then ask the seller to confirm omitted material, filter, or fit details. Listing information does not replace a repairer's assessment of an obstruction or damaged joint.
Keep this routine narrow: verify the assembly, match the cleaner to the accessible passage, use gentle passes, stop at resistance, and dry naturally. Anything that requires force, cutting, strong chemistry, or disassembly of an unknown joint is no longer routine stem cleaning.
Related posts
Product notes, store updates, and purchase guidance for the storefront.