How to Clean a Tobacco Pipe Bowl Carefully
Clean a tobacco pipe bowl conservatively by removing loose residue, assessing buildup, using tools lightly, and stopping when condition is uncertain.
Written by
The Tobacco Pipe Editorial Team
The store editorial team reviews product facts, care boundaries, and buying guidance against the current catalog and source evidence.
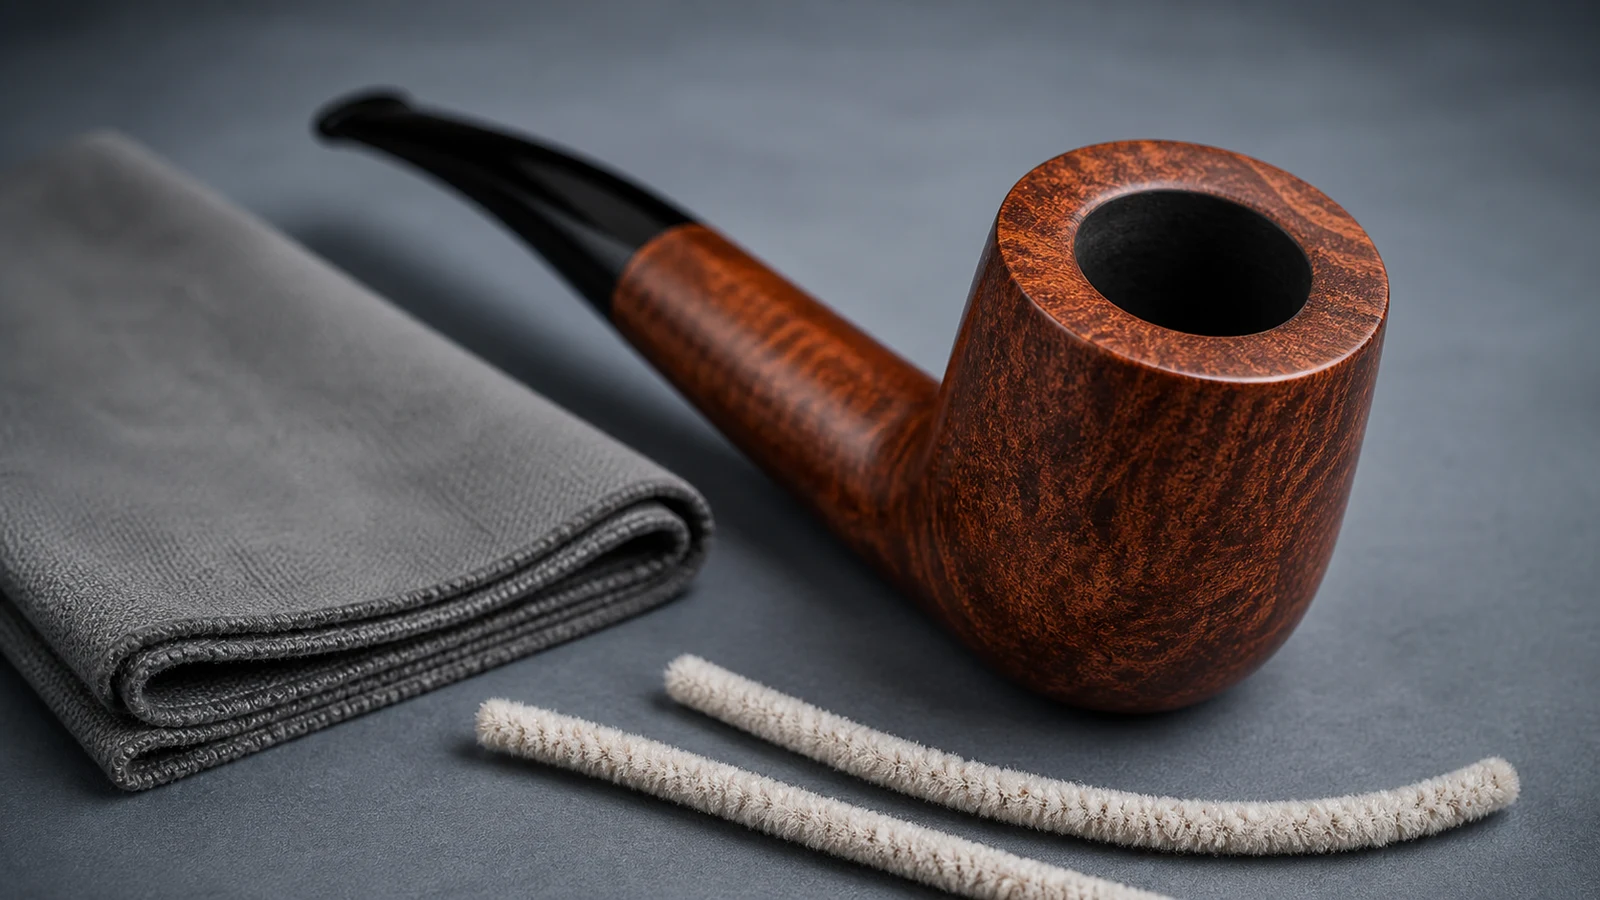
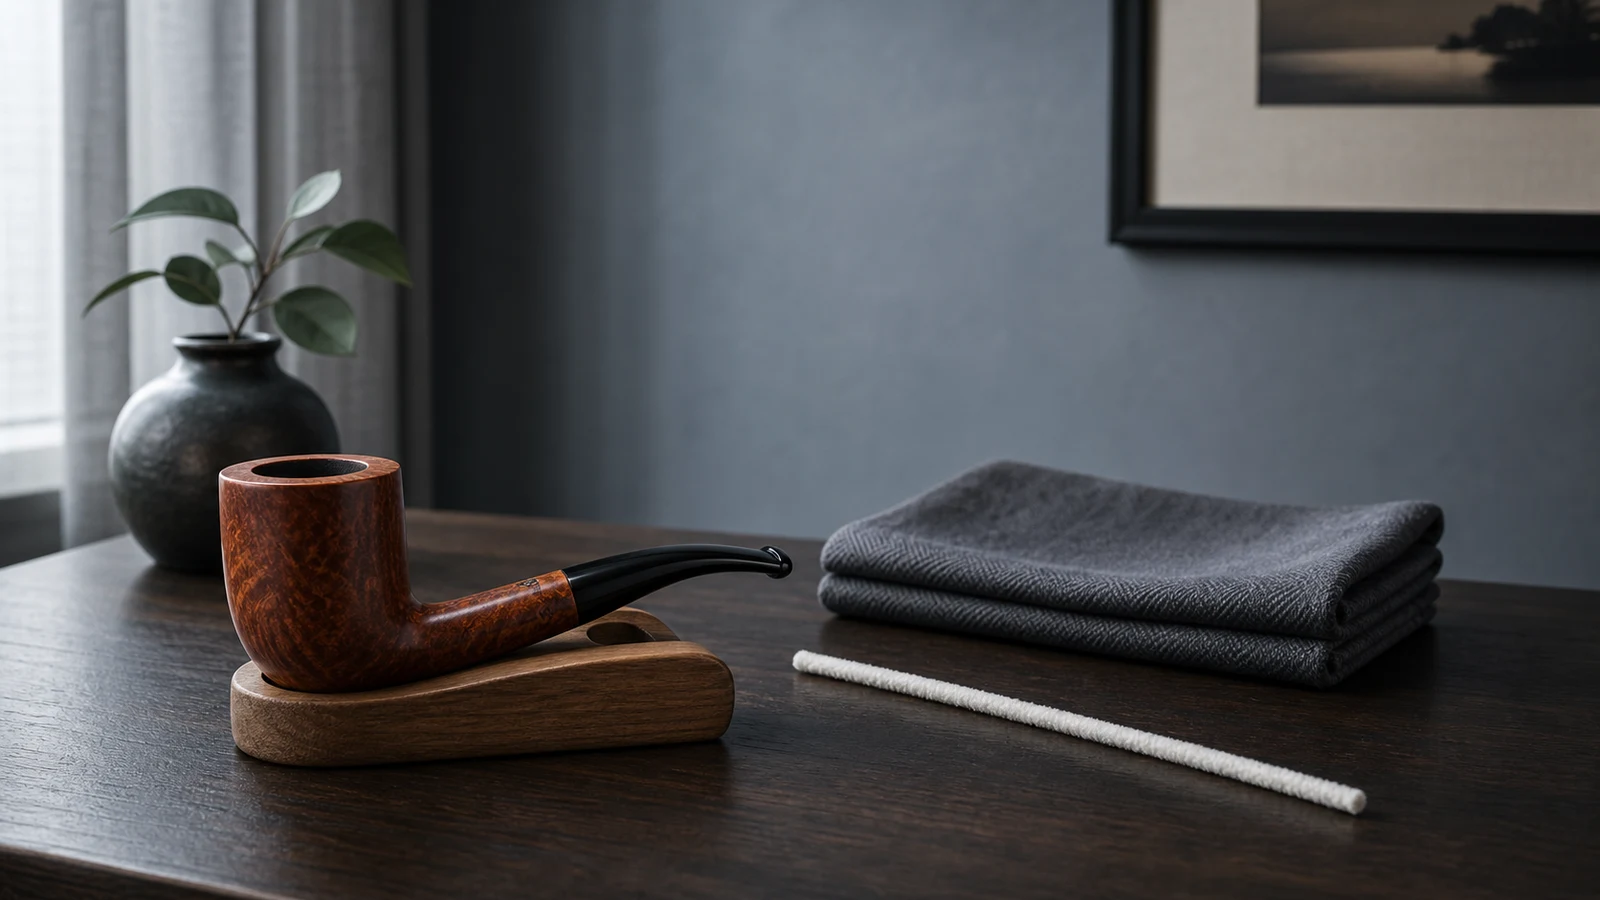
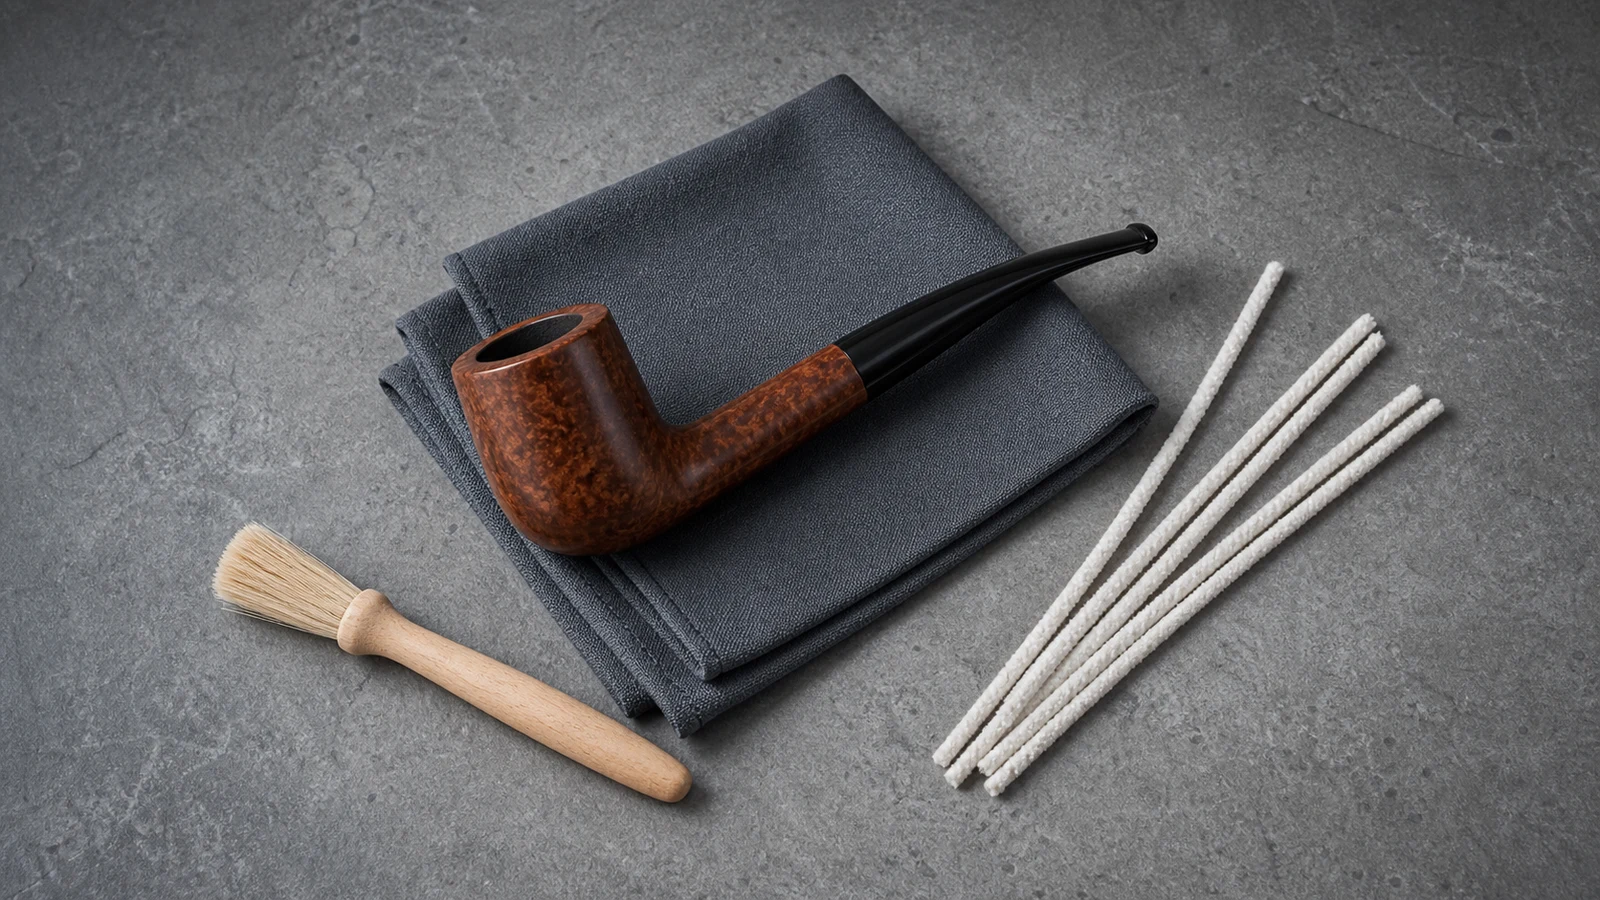
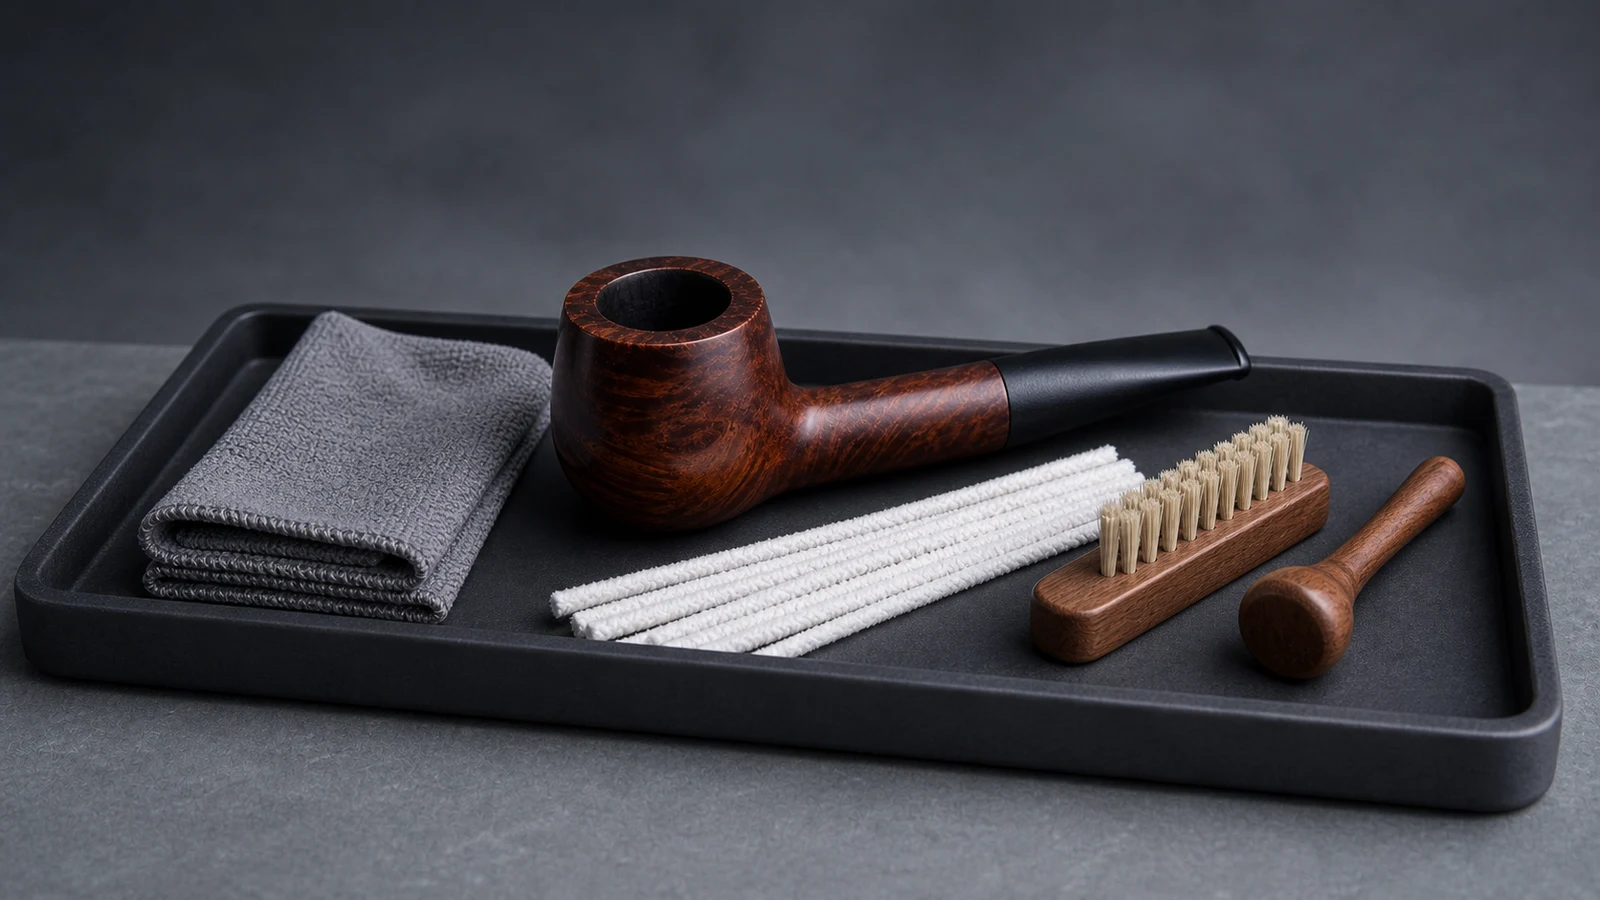
To clean a tobacco pipe bowl carefully, wait until it is completely cool, remove only loose residue, inspect the chamber and rim under good light, and stop before cutting, scraping, soaking, or applying an unknown cleaner. The objective is routine bowl care, not stripping the chamber or correcting hard buildup in one session.
This article is deliberately limited to the bowl. Stem and airway cleaning, after-use routines, restoration, and repair are separate jobs. Bowl material, lining, finish, prior use, and repairs may not be known, so no generic process can guarantee that cleaning will be harmless. If the surface changes, a tool catches, a layer is hard or uneven, or construction is uncertain, stop and get pipe-specific advice.
For the overall sequence before and after this bowl check, return to the cleaning Hub. If the goal is only the brief reset after use, follow the narrower after-use routine instead of turning every session into a chamber project.
Bowl-only care checklist
| Check | Conservative action | Boundary |
|---|---|---|
| Temperature | Wait until bowl, rim, and shank are at room temperature | Do nothing while any part remains warm |
| Loose residue | Let freely moving material fall away with the bowl supported | Do not strike the bowl against a hard surface |
| Chamber wall | Observe color, texture, and visible layering | Do not scrape to expose the underlying material |
| Rim | Lift dust with a clean, soft, dry cloth if the finish is stable | Stop at color transfer, flaking, tackiness, or a loose detail |
| Cake or hard deposit | Document its apparent thickness and evenness | Do not ream an unknown bowl as routine cleaning |
| Drying | Leave the bowl open to ordinary air in a stable place | Avoid heaters, direct heat, and closed damp storage |
The checklist is a triage method. It tells you whether a light routine is appropriate; it is not a restoration recipe.
Cool the bowl and inspect before touching it
Set the pipe on a stable support and wait until the entire bowl feels at room temperature. Do not accelerate cooling with water, refrigeration, outdoor cold, or forced air. A slow pause gives the assembly time to settle and gives you a chance to identify visible concerns before introducing a tool.
Use diffuse light and look from above, from the side, and across the rim. Note loose material, a hard internal layer, a possible lining, marks at the rim, or anything that resembles a crack or previous repair. Photographs are useful for recording the state, but they cannot confirm what lies beneath a dark layer or whether a material will tolerate a treatment.
If this is a current catalog item, review the source-described material, condition, and photographs in its listing. The shop provides those individual records where available. Treat them as listing facts, not permission to apply an unverified method.
Remove only residue that is already loose
Support the pipe over a soft, clean surface. Tilt it so loose particles can leave without impact. A gentle tap with a fingertip on the outside may be enough for freely moving residue, but the bowl should never be knocked against an ashtray, table, tool, or other hard object.
Do not chase every dark mark. The chamber does not need to look new for routine care to be complete. If material remains attached, classify it before acting: is it a thin stable-looking layer, a hard ridge, an uneven deposit, an unknown lining, or something that may be damage? If you cannot tell, leave it in place and ask someone qualified to inspect it.
Avoid knives, screwdrivers, drill bits, wire brushes, steel wool, or abrasive household pads. These tools provide little control in a curved chamber and can alter the surface before you understand its condition.
Assess cake without assuming it must be removed
“Cake” is commonly used for the internal layer that may develop in a used pipe bowl. A visual assessment can describe whether a layer appears present, even, rough, cracked, or unusually thick. It cannot reliably establish exact thickness throughout the chamber or confirm the condition of the material beneath it.
Routine cleaning does not require aggressive cake reduction. A hard layer that narrows the visible chamber, forms ridges, separates in flakes, or appears uneven is a reason to stop. So is uncertainty about whether the bowl is lined, coated, repaired, or made from the material claimed in an old listing.
The manufacturer maintenance overview from Savinelli and the specialist Smokingpipes cleaning guide both treat chamber buildup as a different level of work from a light routine. Neither source can identify what lies under the layer in the pipe in front of you, so observable irregularity remains a stop condition here.
Document the chamber with clear, well-lit photographs and record any maker or model information. A repairer can then decide whether intervention is needed and which method fits the actual construction. This preserves the distinction between observing buildup and attempting to remove it.
Treat reaming as a separate skilled task
A reamer is not a universal routine-cleaning tool. Its fit, cutting geometry, alignment, and the bowl's taper all matter. A tool that appears to enter the opening may contact the chamber unevenly lower down. Excess pressure, poor alignment, or an unsuitable size can remove more than intended.
Do not proceed merely because a general guide gives a number of turns or a target thickness. Those instructions cannot account for this pipe's material, lining, previous restoration, hidden crack, or chamber shape. Do not substitute a knife, drill, rotary tool, or improvised metal scraper.
If the layer seems to require reduction, the conservative choice is to stop and use an experienced service. If you already have maker-specific instructions and appropriate experience, follow those instructions rather than this general article. There is no shame in leaving a stable unknown layer untouched until it can be assessed.
Before buying or using a reamer, compare its proposed role with the cleaning-kit checklist. Repair examples collected by rebornpipes show why previous repairs and estate-pipe condition change the job; they should prompt assessment, not be copied as instructions for an unknown bowl.
Protect the rim and exterior finish
The rim is easy to over-treat because deposits, stain, grain, and normal color variation may sit close together. Begin with a clean, soft, dry cloth and almost no pressure. Work only on dust that lifts readily. Do not flood the rim or let liquid run into the chamber or down the outside wall.
Stop immediately if the cloth picks up finish color, the surface becomes tacky or cloudy, a coating flakes, or an inlay or band moves. Household polish, alcohol, strong solvent, abrasive paste, steam, and soaking are not general solutions. Compatibility depends on the exact finish and any prior repair.
The product guide explains why visible photographs should be kept separate from hidden or source-dependent specifications. That same rule applies here: a glossy or matte appearance in a photo does not prove which cleaner is suitable.
Let the open bowl dry naturally
After loose residue and stable surface dust are removed, place the pipe on a support that prevents rolling. Keep the chamber open to ordinary air circulation. Avoid direct sunlight, a heater, a hair dryer, compressed air, or an enclosed container that may trap moisture.
Do not add liquid merely to make the cleaning feel more complete. If the bowl is already damp for an unknown reason, do not introduce heat or insert an absorbent tool that might snag. Let accessible moisture dissipate naturally and seek advice if it remains trapped or carries an unidentified odor or residue.
Only store the pipe when it is at room temperature, visibly dry in accessible areas, and stable. Storage cannot correct a damaged finish, cracked chamber, or hard deposit; those findings should remain documented for assessment.
Stop conditions for bowl care
End the routine if you observe any of these signs:
- a suspected crack, burn-through, loose fragment, or earlier repair;
- a hard or uneven layer that does not release as loose residue;
- an unknown chamber coating or bowl material;
- a rim finish that transfers color, flakes, swells, or turns tacky;
- a tool that catches, binds, or requires pressure;
- an unidentified odor, sticky residue, or possible contamination;
- a need to soak, scrape, ream, sand, or use solvent to make progress.
For questions about the facts shown on a current store listing, use the contact page. For condition assessment or material-specific work, consult a qualified pipe repairer who can examine the item directly.
Frequently Asked Questions
Should a tobacco pipe bowl be scraped clean?
Not as a general routine. Remove only loose residue. A hard or attached layer may involve cake, a lining, an old repair, or unknown bowl material. Scraping without assessment can alter the chamber and should not be treated as ordinary cleaning.
How can product photos help before bowl cleaning?
Photos can document visible rim condition, chamber opening, surface finish, and changes over time. They cannot reliably confirm hidden cracks, exact layer thickness, material authenticity, or compatibility with a cleaner.
When should a reamer be used?
Reaming belongs outside a conservative generic routine. If a hard layer appears to need reduction, have the bowl and tool fit assessed by someone experienced or follow instructions specific to the confirmed maker and construction. Never force or improvise a cutting tool.
Can I soak the bowl or use a strong solvent?
Do not soak it or apply a strong solvent based on general advice. Liquid can affect an unknown finish, lining, adhesive, repair, or surrounding component. Use only pipe-specific guidance after the materials and condition are known.
Can current catalog photos define a bowl-cleaning method?
Browse the shop for current images and source-described listing facts, then verify the individual pipe's material, condition, and care notes. Catalog photographs are comparison evidence, not a universal cleaning specification.
Careful bowl cleaning ends before force begins. Cool the pipe, remove loose residue, preserve the rim and finish, and leave hard or uncertain conditions for an appropriate assessment.
Related posts
Product notes, store updates, and purchase guidance for the storefront.