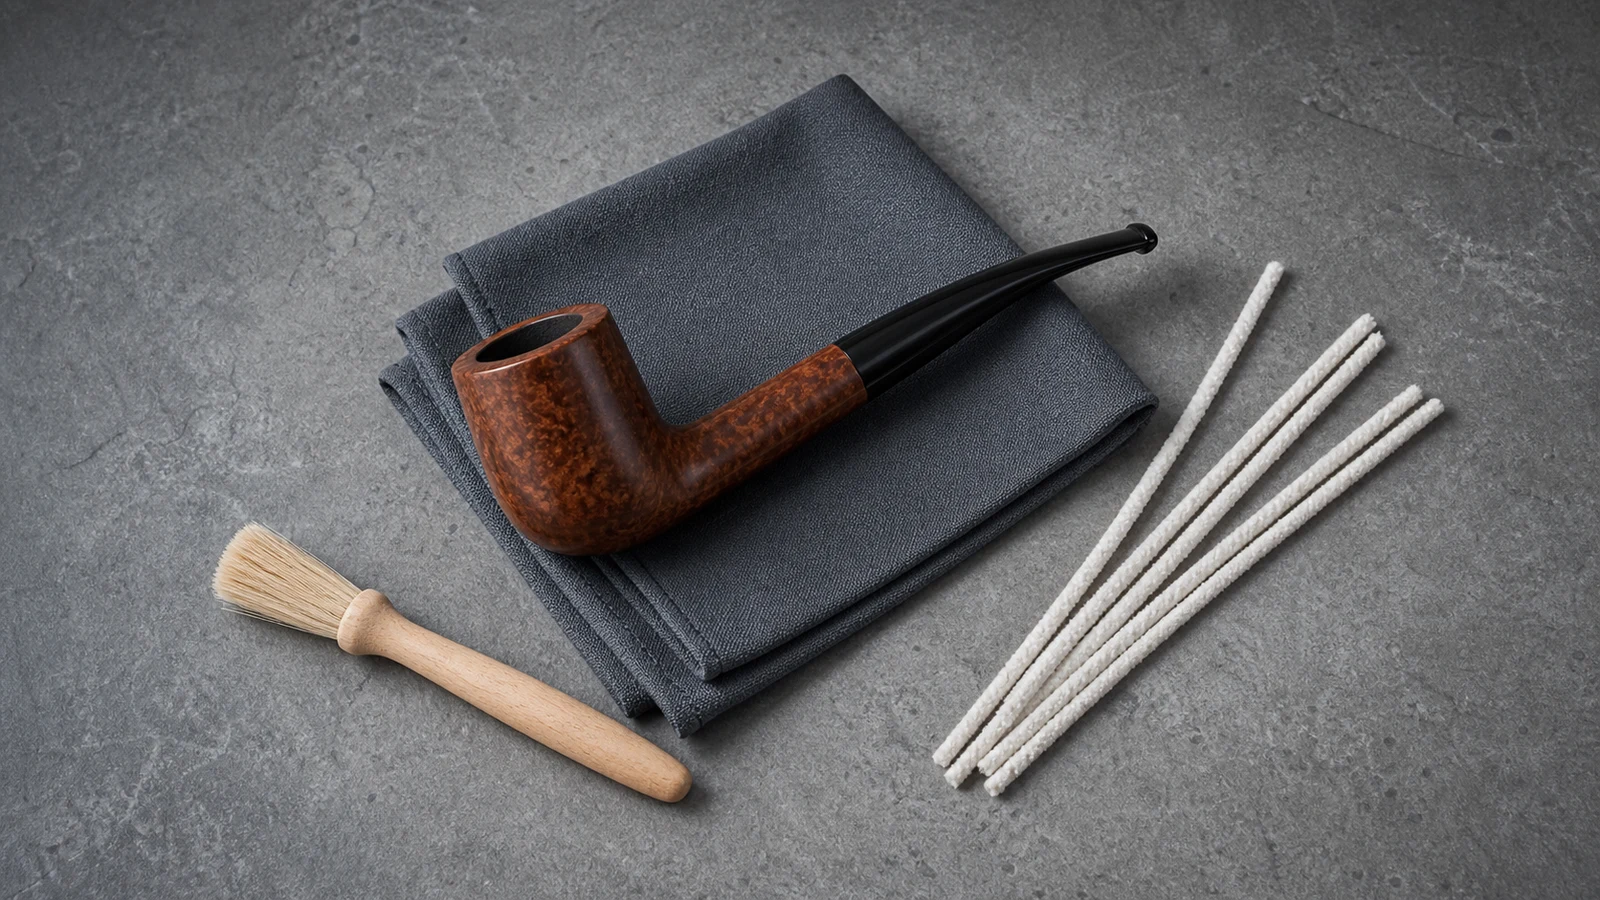
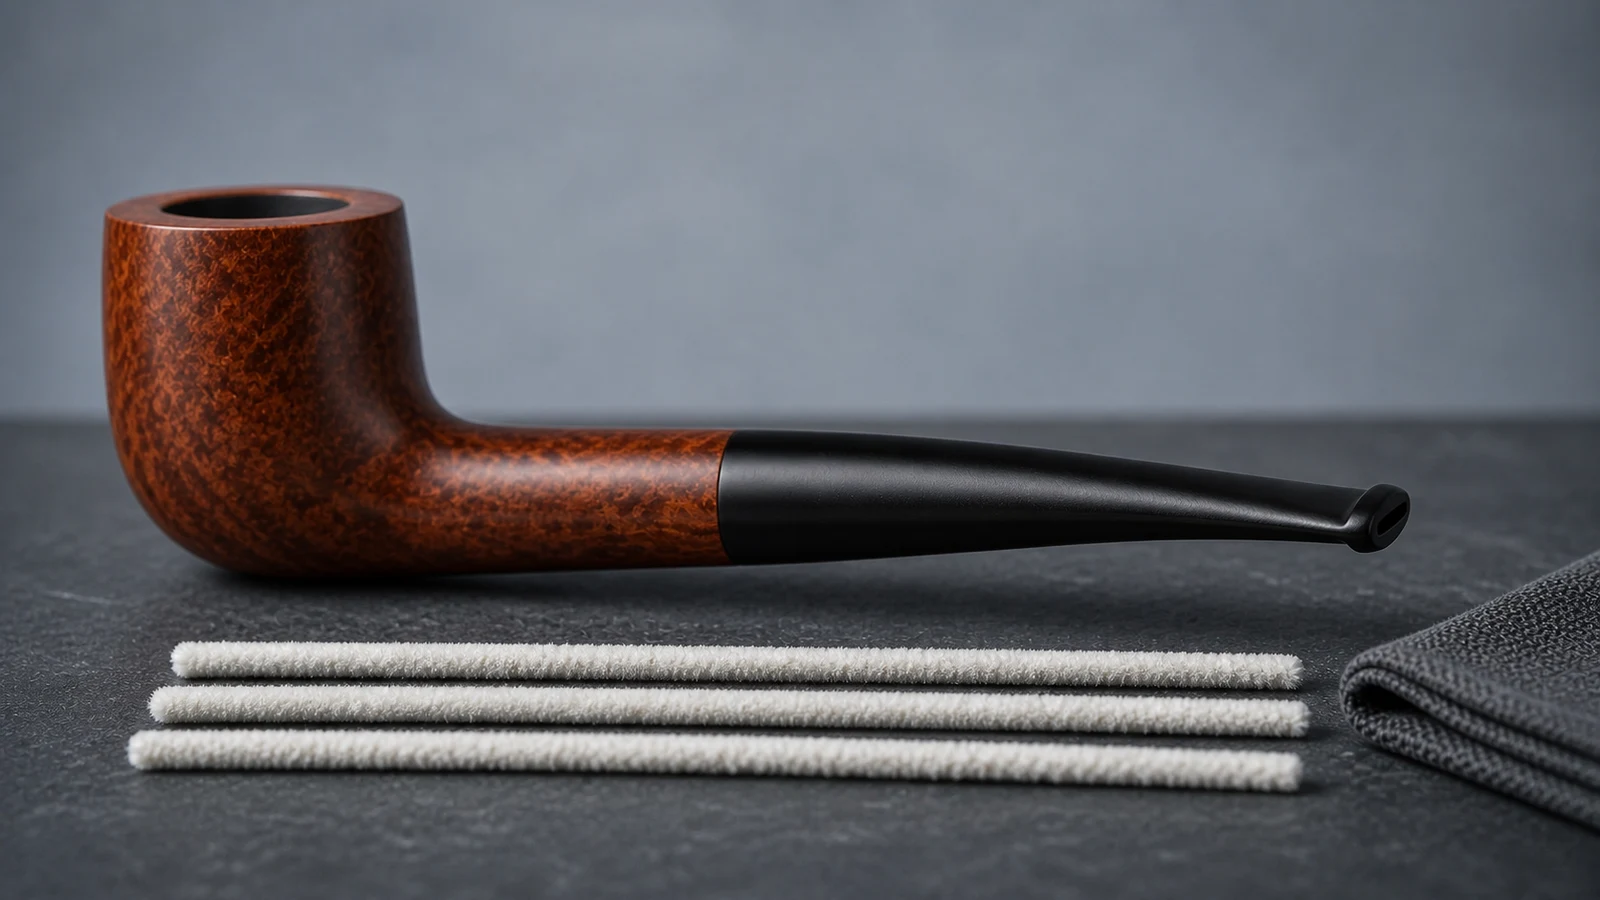
How to Clean a Tobacco Pipe After Use: A Short Routine
Follow a short after-use tobacco pipe routine built around cooling, loose-residue removal, gentle cleaner passes, drying, and inspection.
Written by
The Tobacco Pipe Editorial Team
The store editorial team reviews product facts, care boundaries, and buying guidance against the current catalog and source evidence.
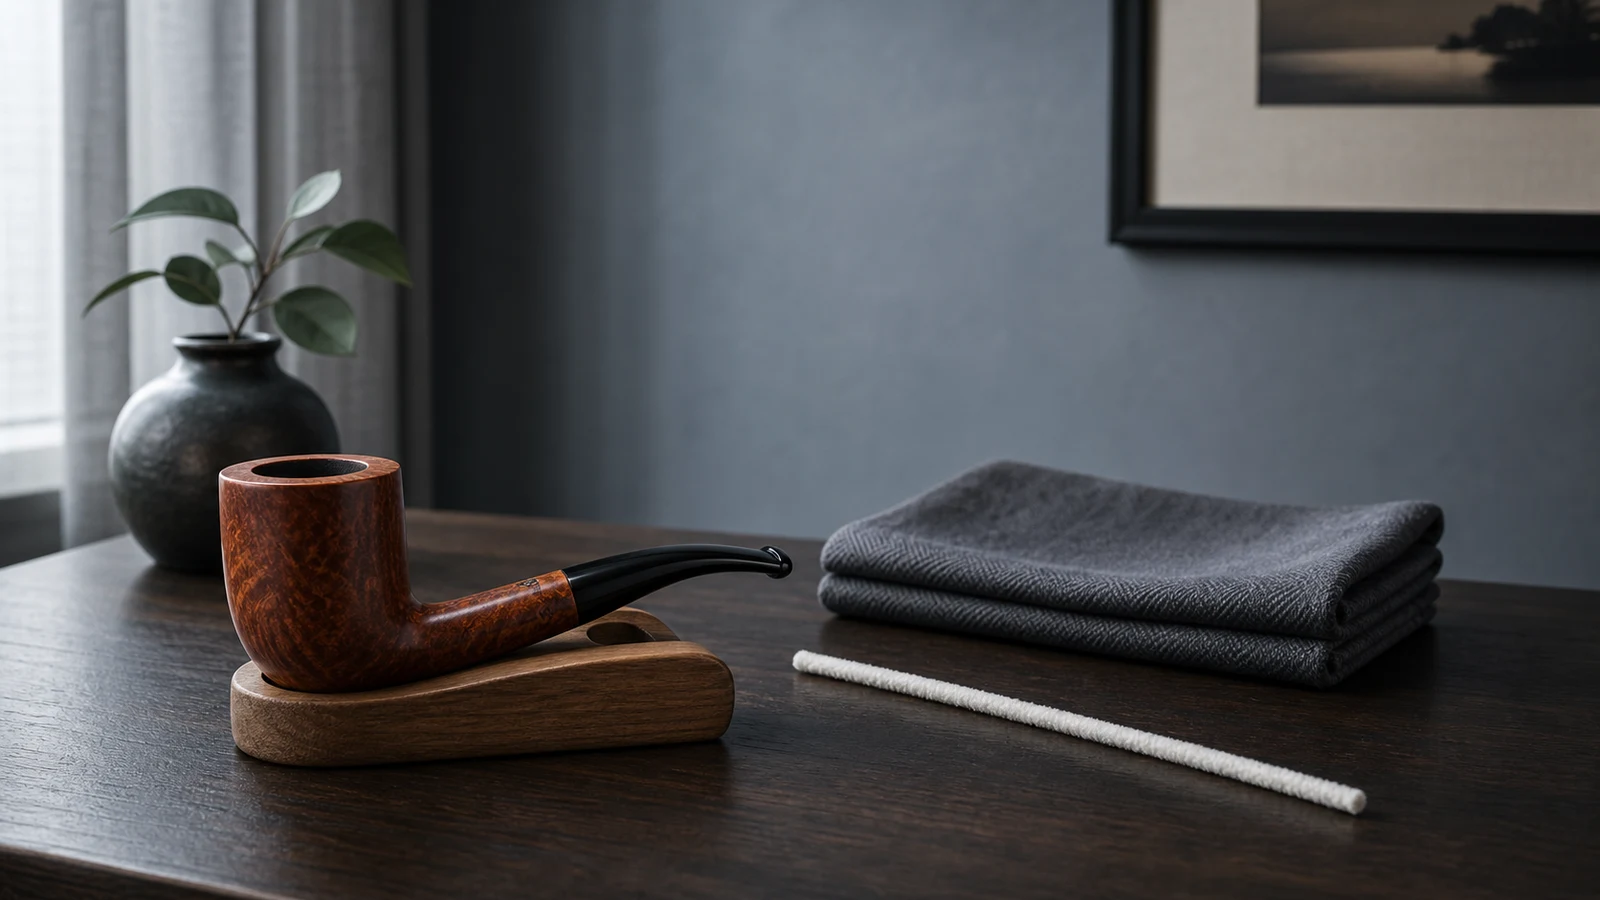
After use, keep tobacco pipe care short: set the pipe on a stable support, let it cool completely, tip out only loose ash or residue without striking the bowl, make one or more gentle passes with a correctly fitting soft pipe cleaner if the accessible airway is open, and then leave the pipe to rest and dry in ordinary air before storage.
This is an after-use reset, not deep cleaning. Do not scrape a hard chamber layer, soak the bowl or stem, use strong solvent, force the stem apart, push through an obstruction, or try to repair a problem during the routine. Because materials, finishes, filters, joints, and prior condition vary, no general sequence can promise a damage-free result.
Use the cleaning Hub when inspection reveals anything beyond loose accessible residue. This page deliberately ends at cooling, one easy maintenance pass, and open drying; the storage guide begins only after those observable conditions are met.
The short routine at a glance
| Step | What to do | What not to do |
|---|---|---|
| 1. Support | Place the pipe where it cannot roll or fall | Do not handle the joint while warm |
| 2. Cool | Wait until bowl, shank, stem, and fittings reach room temperature | Do not use water, refrigeration, or forced air to speed cooling |
| 3. Empty | Let only loose ash or residue fall away over a soft surface | Do not knock the bowl against a hard edge or scrape the chamber |
| 4. Clear | Use a soft pipe cleaner only if it enters without force | Do not use wire, a drill, or pressure when it catches |
| 5. Inspect | Note cracks, loose parts, finish changes, or persistent moisture | Do not turn the routine into restoration |
| 6. Rest | Leave the pipe stable and open to ordinary air | Do not store it warm, damp, or with a cleaner inside |
The entire routine is built around low intervention. Its purpose is to leave the pipe tidy and observable, not to make every surface appear new.
Step 1: Set the pipe down and cool it completely
Place the pipe on a suitable stand or another clean, stable support. Make sure the bowl cannot tip and the stem is not bearing awkward pressure. Wait until every accessible part is at room temperature.
Do not remove or twist the stem while the assembly is warm. Do not accelerate cooling with water, a refrigerator, outdoor cold, compressed air, or a fan aimed into the pipe. A patient pause avoids adding thermal or mechanical stress and gives you time to gather a soft cloth and an appropriately sized cleaner.
If the pipe was dropped, knocked, or exposed to an unusual substance during use, skip the routine and inspect it more carefully after cooling. A suspected crack, shifted band, or loose joint is a stop condition.
Step 2: Let loose ash and residue leave gently
Once cool, support the pipe over a soft, clean surface and tilt the bowl. Allow material that is already loose to fall away. A light fingertip tap on the outside may dislodge free particles, but do not strike the pipe against an ashtray, table, bin, or tool.
Do not scrape the chamber as part of an after-use reset. An attached layer may be ordinary buildup, a lining, an old repair, or an area whose condition cannot be judged from above. Knives, screwdrivers, wire brushes, drill bits, steel wool, and other improvised tools do not belong in this short routine.
If a hard or uneven deposit is visible, photograph it under good light and leave it alone. Bowl assessment and any potential reaming are separate tasks that depend on the confirmed material and condition.
Step 3: Make a gentle airway pass only if it fits
Use a soft purpose-made pipe cleaner sized for the accessible opening. Align it with the visible airway and advance it in short, gentle movements. The cleaner should enter and withdraw without buckling, shredding, or requiring force.
It is not necessary to prove that the cleaner can emerge at the far end. A bend, filter, adapter, narrow passage, or the pipe's normal internal design may limit travel. When the cleaner stops, withdraw it gently. Do not push harder, replace it with wire, drill through the passage, pour in solvent, or use compressed air.
If the cleaner returns heavily marked, replace it rather than driving the same one repeatedly. The after-use goal is a light accessible pass. Persistent residue, repeated obstruction, or an unidentified odor indicates that the pipe needs a separate, construction-specific assessment.
The maintenance sections from Peterson and the specialist Smokingpipes cleaning guide support this distinction between a routine cleaner pass and deeper periodic work. They do not establish a universal number of passes or a fixed schedule, so fit and visible condition remain the decision points. For cleaner technique, continue with the stem-and-airway guide.
Step 4: Keep disassembly outside the default routine
Some documented pipe designs permit stem removal after complete cooling, but a generic after-use checklist should not assume that every joint should be separated. Confirm the maker's instructions, the filter arrangement, and the current condition first.
If the joint is designed to separate and moves normally under its specific instructions, support both components close to the connection and keep any removable element organized. If it resists, creaks, moves at an unexpected angle, or exposes a crack, stop. Do not twist harder, pull with leverage, heat or chill the joint, or add lubricant or solvent.
For an unfamiliar pipe, leaving a cool stable assembly together is preferable to forcing it apart. The product guide explains how to mark unknown construction and compatibility details for later verification.
Step 5: Wipe only stable accessible surfaces
If the exterior is dusty, use a clean, soft, dry cloth with light pressure. Keep lint away from openings. Do not interpret every change in color as dirt: the visible area may include stain, oxidation, normal wear, an unknown coating, or a prior repair.
Stop if color transfers to the cloth, the finish becomes tacky or cloudy, a coating flakes, or an inlay or band moves. Do not apply alcohol, strong solvent, bleach, polish, abrasive paste, or household cleaner as part of a universal after-use routine. Finish care depends on known materials and instructions.
When the pipe comes from the current catalog, compare its appearance with the photographs and source-described facts in the shop. Images can help document visible change, but they do not confirm chemical compatibility or hidden condition.
Step 6: Rest and store without trapping moisture
After the accessible pass, remove the cleaner; do not leave it inside during storage. Set the pipe in a stable, ventilated location away from direct sunlight, heaters, hair dryers, and closed damp containers. Allow ordinary air to reach the open bowl and accessible passage.
There is no universal rest period that covers every material, climate, and amount of moisture. Use observable conditions: all parts are at room temperature, accessible surfaces are dry, no cleaner remains inside, and the storage arrangement will not trap moisture or put stress on the stem.
If moisture remains in an inaccessible area, do not pry out an insert or add heat. Record the condition and seek material-specific guidance. Rest is part of the routine; it is not a substitute for assessment when something appears wrong.
When the short routine should become a stop
End the session rather than escalating if you find:
- a crack, split, shifted fitting, loose component, or previous repair;
- a stem joint that resists or moves unexpectedly;
- a cleaner that buckles, snags, or stops at the same point;
- hard or uneven chamber buildup that invites scraping;
- an unknown filter, adapter, lining, finish, or stem material;
- exterior color transfer, tackiness, swelling, clouding, or flaking;
- persistent moisture, sticky residue, or an odor you cannot identify.
Take clear photographs and record any listing, maker, model, and condition information. For questions about a current store listing, use the contact page. Physical defects and obstructions may still require an experienced repairer who can inspect the pipe directly.
Keep deeper care on its own schedule
The value of a short after-use routine is that it remains predictable. Bowl cake assessment, stem exterior restoration, stuck-joint work, filter replacement, and deep airway cleaning should not be improvised because the pipe is already on the table.
Schedule those tasks separately, when the pipe is cool and you have confirmed its materials and construction. This separation also makes changes easier to track: if the joint was normal after the last use but resists at the next inspection, you have a clear point of comparison.
Frequently Asked Questions
Should I clean a tobacco pipe immediately after use?
Set it down safely immediately, but wait for complete cooling before emptying loose residue, handling the joint, or making an airway pass. The short routine begins with cooling, not with forceful handling of a warm pipe.
How much ash should I remove?
Remove only ash or residue that is already loose and falls away gently. Do not scrape an attached chamber layer during the after-use routine. Hard, uneven, or unknown buildup needs separate assessment.
What if a pipe cleaner will not pass?
Withdraw it gently and stop. Confirm the cleaner size, filter or adapter status, and the pipe's internal design. Do not use wire, drilling, strong solvent, or extra pressure to clear an unidentified obstruction.
Can product photos tell me how to store the pipe?
They can show the shape and visible fittings, but not all material, balance, repair, or moisture considerations. Use a stable support that does not stress the pipe, allow ordinary air circulation, and follow maker-specific storage instructions where available.
Where can I verify after-care details for a catalog pipe?
Review the individual shop listing for stated materials, filters, photographs, and included care notes, then ask for clarification where facts are missing. Do not transfer instructions from a visually similar pipe without confirming compatibility.
Cooling, loose-residue removal, a gentle fitting cleaner, and natural rest are enough for the short routine. Anything that calls for force, strong chemistry, cutting, or diagnosis belongs in a separate, pipe-specific maintenance task.
Related posts
Product notes, store updates, and purchase guidance for the storefront.