Tobacco Pipe Reamer Guide: Fit, Caution, and When to Stop
Understand tobacco pipe reamer types, fit checks, light-pass principles, cake assessment, and clear stop conditions without assuming compatibility.
Written by
The Tobacco Pipe Editorial Team
The store editorial team reviews product facts, care boundaries, and buying guidance against the current catalog and source evidence.
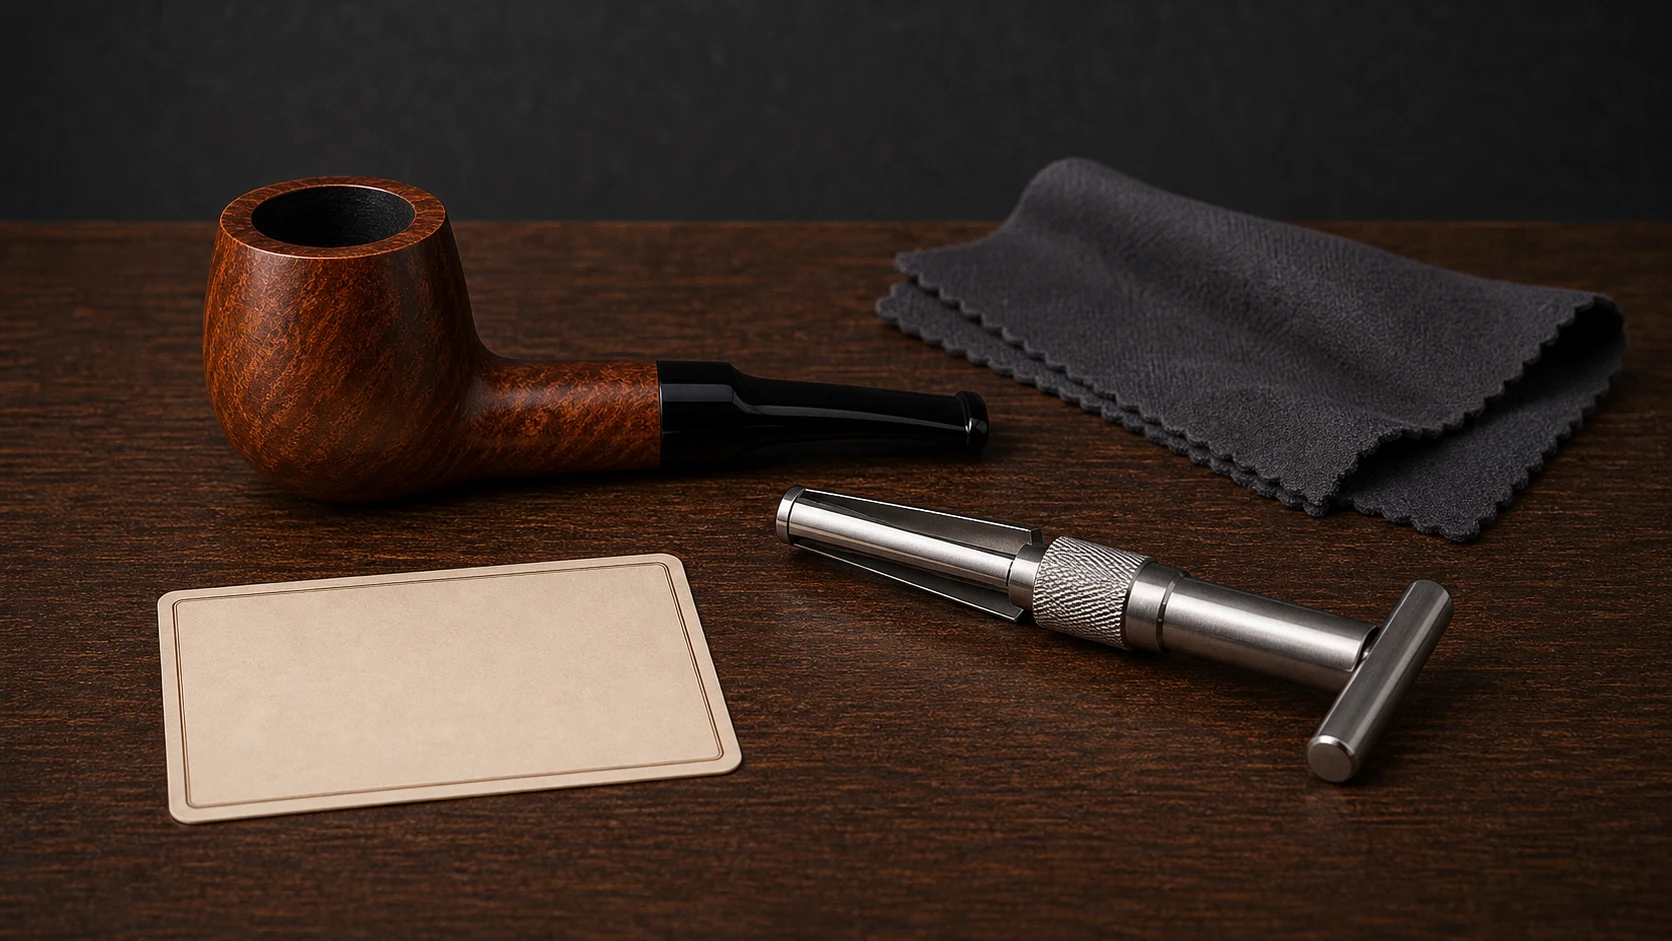
A tobacco pipe reamer should match the bowl's actual chamber, be used conservatively, and never be forced. Before removing anything, assess whether the deposit is substantial, uneven, loose, or simply difficult to judge. If the tool cannot sit squarely, its range does not match the chamber, the bowl condition is unknown, or the work would require pressure to continue, stop and seek experienced repair help.
The goal is not to make the interior look new. Reaming is controlled material removal from the deposit inside the bowl, and an aggressive approach can reach the bowl wall or alter an already uneven surface. Tool type matters less than verified fit, small adjustments, frequent inspection, and a willingness to stop early.
Two specialist sources support that conservative boundary. Smokingpipes' reaming guide describes cake as carbon buildup and recommends gradual work with minimal pressure. Savinelli's manufacturer page on pipe maintenance likewise says excess carbon should be removed gently and gradually and cautions against uncontrolled machinery. Neither source can diagnose an unseen bowl.
The repair-focused rebornpipes reaming archive also shows different tools and cutting heads being selected for specific bowls. It is first-hand restoration evidence, not permission to copy an aggressive estate-pipe procedure onto an unknown item.
First decide whether reaming is appropriate
“Cake” is the common term for the carbon deposit that can build on the inside of a pipe bowl. Its apparent thickness may vary around the chamber, and the boundary between deposit and bowl material may not be obvious to an inexperienced eye. A dark interior alone is not enough to determine that reaming is needed.
Before choosing a tool, establish what you actually know:
- Is this a pipe you know, or a used pipe with an uncertain history?
- Is the chamber fully visible under neutral lighting?
- Does the deposit appear stable and continuous, or loose and irregular?
- Can you distinguish the deposit from the chamber wall?
- Is there any visible damage, repair, unusual geometry, or obstruction?
- Do you have a tool whose working range fits without force?
If those questions produce mostly unknowns, professional assessment is the more conservative next step. The site's product guide makes a similar distinction when buying: photographs can show form, but they do not reliably establish dimensions, internal condition, prior cleaning, or hidden construction. That boundary becomes even more important before using a cutting or scraping tool.
Start with the non-cutting assessment in the careful bowl-cleaning guide. Cleaning loose debris and improving visibility is a different task from removing an adhered layer; do not let one silently turn into the other.
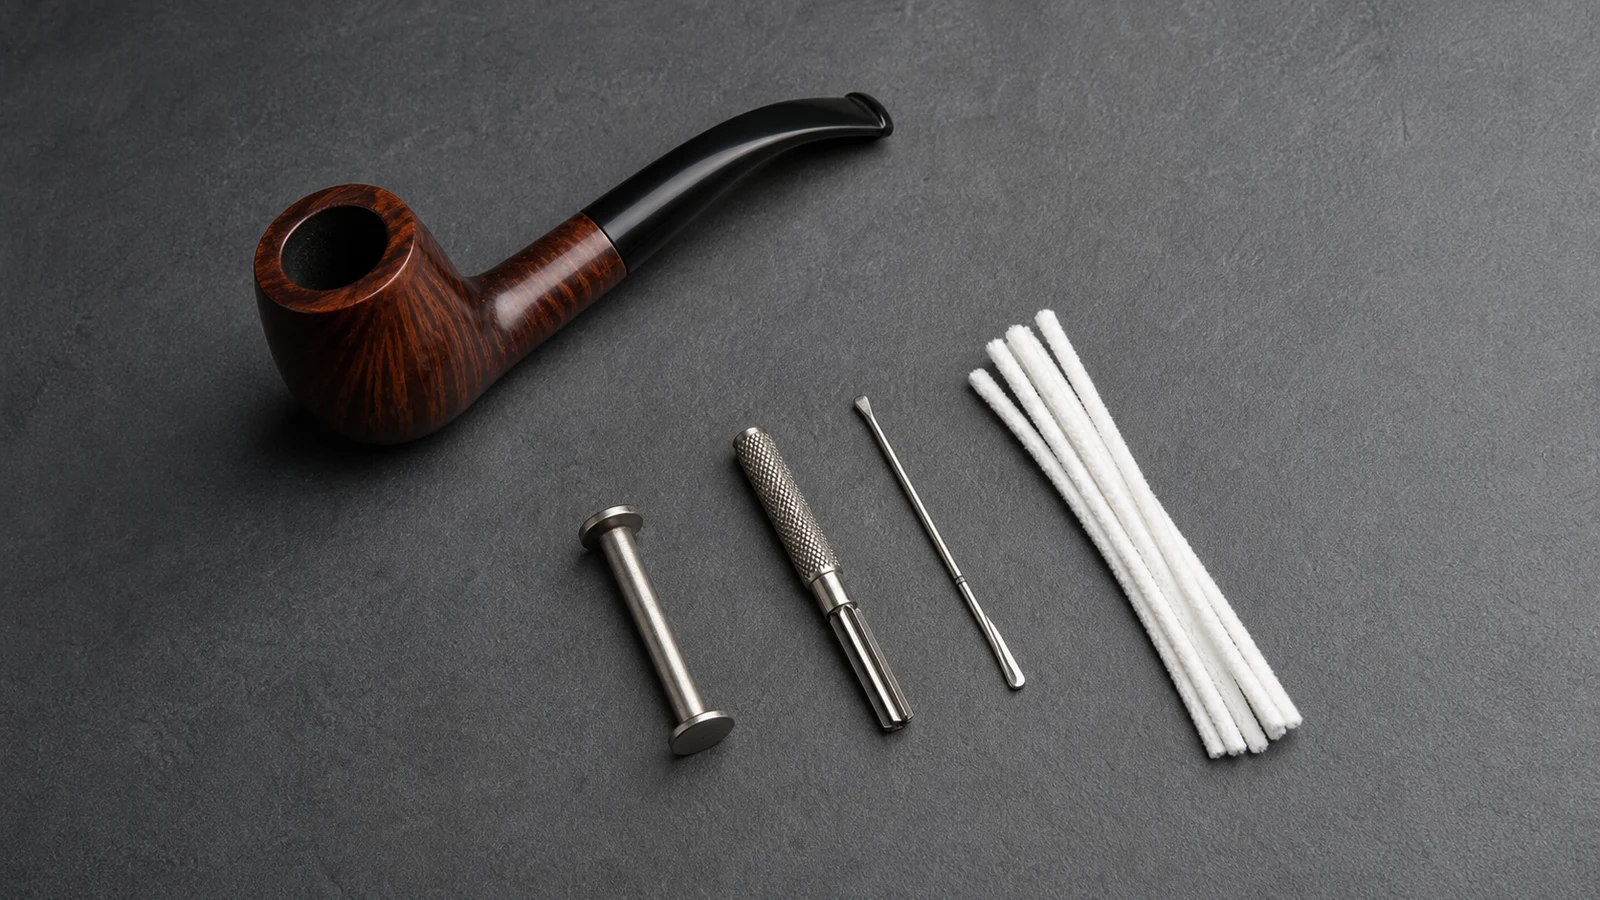
Common reamer types and their tradeoffs
Reamers vary, and category names are not compatibility guarantees. The following comparison describes general tool formats rather than a recommendation for a specific pipe.
| General type | How it is commonly configured | Main fit question | Reason to stop |
|---|---|---|---|
| Adjustable-blade reamer | Blades expand within a stated range | Can it enter and center at its smallest setting? | It tilts, binds, chatters, or needs force |
| Fixed-size reamer set | Separate heads or tools cover different diameters | Is there a size that fits without cutting aggressively? | The nearest size is clearly too large or too small |
| Tapered reamer | Working surface narrows toward one end | Does the taper resemble the chamber rather than touching one area first? | Contact is concentrated or uneven |
| Scraper-style tool | A smaller edge is guided by hand | Can you identify the deposit boundary at every contact point? | Visibility or control is insufficient |
Some tools combine features, and sellers may use different names. Read the exact tool description, supported range, instructions, and included parts. This article does not state that any reamer is compatible with a current catalog pipe, and it does not imply that the site sells reamers or other accessories.
The site's catalog snapshot verifies 16 exterior shape families but treats exact dimensions and condition as product-level facts. That is why a Billiard, Apple, or Bulldog label cannot select a working size. For a broader distinction between tampers, reamers, scrapers, and cleaners, see the pipe-tools guide.
Fit is more than nominal diameter
A diameter range on packaging is useful only if the chamber geometry and the tool's actual working shape are compatible. Chambers may be cylindrical, tapered, rounded near the bottom, irregular, or simply undocumented. A single top-opening measurement cannot describe the whole interior.
A cautious fit check asks whether the tool can be positioned squarely and controlled at the point where work would begin. It should not depend on bending a blade, rocking the handle, or using pressure to make an approximate size work. If the tool contacts only one side, reaches the bowl bottom unexpectedly, or cannot remain centered, it is not a controlled setup.
Do not infer chamber measurements from an exterior bowl shape. An Apple, Billiard, Bulldog, or other catalog label describes a visible family of forms; it does not certify the internal chamber profile. Likewise, a product photo without scale cannot provide the accuracy needed for tool selection.
Assess cake conservatively
Cake assessment is partly an evidence problem. Use clear lighting and inspect the entire circumference rather than judging one dark area. Look for variation, loose material, and places where the boundary is not obvious. Avoid turning a visual impression into a precise thickness claim unless you have an appropriate measurement and know what surface is being measured.
A useful assessment record is descriptive:
- Even and identifiable: the deposit boundary appears consistent, but removal should still be incremental.
- Uneven: one section appears thicker, so a self-centering tool may not remove material uniformly.
- Loose or flaking: ordinary reaming assumptions may not apply; stop and assess the underlying condition.
- Unknown: lighting, residue, prior work, or chamber geometry prevents a reliable judgment.
“Unknown” is not a failure. It is a stop condition that protects the pipe from an irreversible guess.
Use light passes and inspect often
When the pipe's condition, the need for reaming, and tool fit have already been established, the conservative principle is to make light, controlled passes rather than one deep adjustment. Remove very little, withdraw the tool, clear the view, and reassess. Maintain control rather than pursuing speed or a perfectly bare chamber.
The following process is intentionally limited:
- Follow the reamer manufacturer's instructions and working range.
- Begin only with a tool that enters and centers without force.
- Set or select the smallest appropriate working size.
- Make a light pass while keeping the tool aligned.
- Withdraw it and inspect the full chamber again.
- Stop when the deposit is modest and even, or sooner if the boundary becomes uncertain.
This is not a specification for every pipe or tool. Some chambers, repairs, finishes, and conditions require specialist handling. Never improvise a deeper cut merely because the first pass removed less than expected.
Stop conditions matter more than a target thickness
Online guidance often emphasizes an ideal result, but without the exact pipe in hand, a universal target can create false confidence. Clear stop conditions are more useful:
- the tool does not match the chamber shape or range;
- the reamer cannot stay centered;
- pressure is needed to advance or turn it;
- the tool catches, chatters, or removes material unevenly;
- the deposit boundary is difficult to distinguish;
- loose material, a void, a crack-like mark, repair, or unexpected surface appears;
- the bowl history or condition is unknown;
- you are no longer sure what the tool is contacting.
At any of these points, stop rather than testing the pipe with another tool or more pressure. If the question concerns a product description or a fact supplied by this site, use the contact page. For condition assessment or repair work, seek an experienced pipe repair professional who can inspect the object directly.
The broader damage-avoidance cleaning guide keeps routine cleaning, blockage troubleshooting, and material-removal work as separate decisions so that escalation is deliberate.
A pre-use verification checklist
- Read the reamer's exact instructions, range, and package contents.
- Confirm that the pipe is fully cool and can be inspected under good light.
- Establish that the interior deposit, not the bowl wall, is identifiable.
- Check the chamber geometry instead of relying on the exterior shape name.
- Start with the least aggressive compatible setting or size.
- Keep the tool square and controlled; never correct poor fit with force.
- Inspect after every light pass.
- Stop at uncertainty, unexpected resistance, or a newly revealed condition issue.
- Ask a specialist when the pipe is valuable, unfamiliar, repaired, or difficult to assess.
Frequently asked questions
What should I verify when researching a tobacco pipe reamer?
Verify the tool type, working range, adjustment method, instructions, and included parts. Separately verify the pipe's chamber geometry and condition. A reamer category or advertised range does not prove fit with a particular pipe.
Can product photos confirm which reamer fits?
Usually not. Photos may show the chamber opening and general interior condition, but perspective and missing scale prevent precise compatibility conclusions. Exterior bowl shape does not confirm internal chamber geometry.
How much cake should be removed?
There is no responsible universal answer for an unseen pipe. The conservative goal is limited, controlled removal while preserving a modest, even deposit and stopping before the chamber wall becomes uncertain. Ask a repair specialist for an exact-pipe assessment.
When should I stop using a reamer?
Stop if the tool does not center, needs force, catches, removes unevenly, reveals loose or unexpected material, or leaves you unsure what surface it is touching. Also stop when the pipe's condition or prior work is unknown.
Does the product guide verify reamer compatibility for a pipe?
The pipe product guide explains how to separate visible form from hidden specifications. It can help with chamber questions to ask, but it does not claim reamer compatibility or accessory availability for any pipe.
A reamer is not a shortcut around missing information. Fit the evidence first: know the chamber, know the tool, make only controlled adjustments, and treat stopping as a successful decision whenever certainty runs out.
Related posts
Product notes, store updates, and purchase guidance for the storefront.