How to Inspect Tobacco Pipe Photos Before Buying Online
Use a structured photo-inspection checklist for the bowl, stem, finish, and supplied angles while keeping hidden tobacco pipe specifications unknown.
Written by
The Tobacco Pipe Editorial Team
The store editorial team reviews product facts, care boundaries, and buying guidance against the current catalog and source evidence.
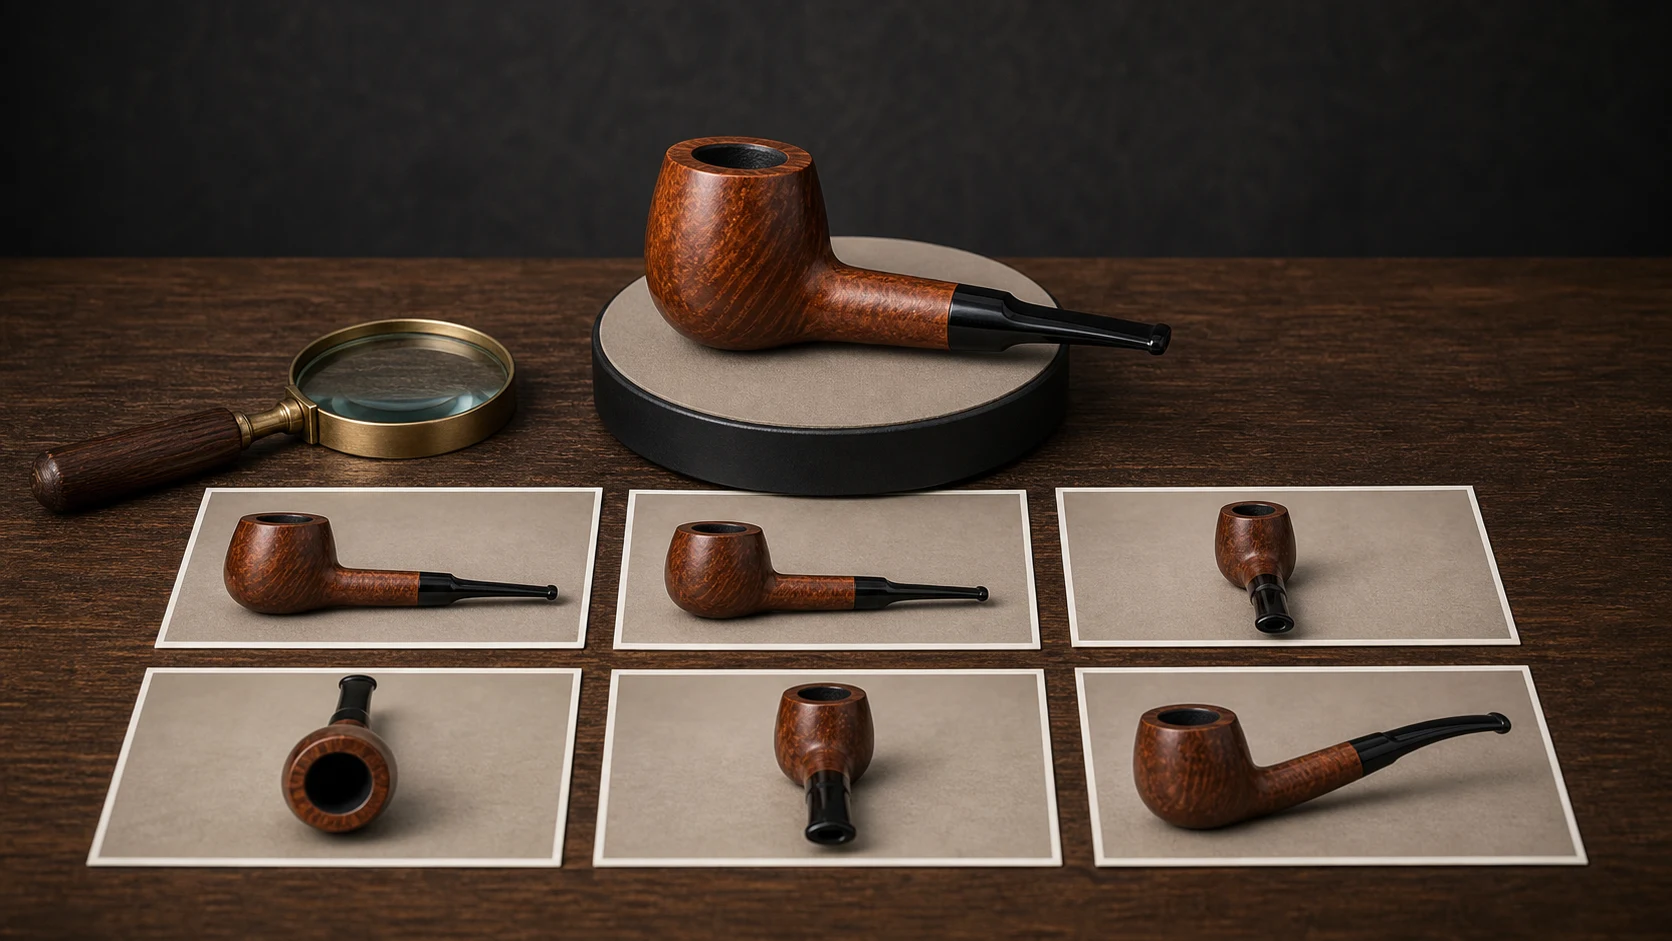
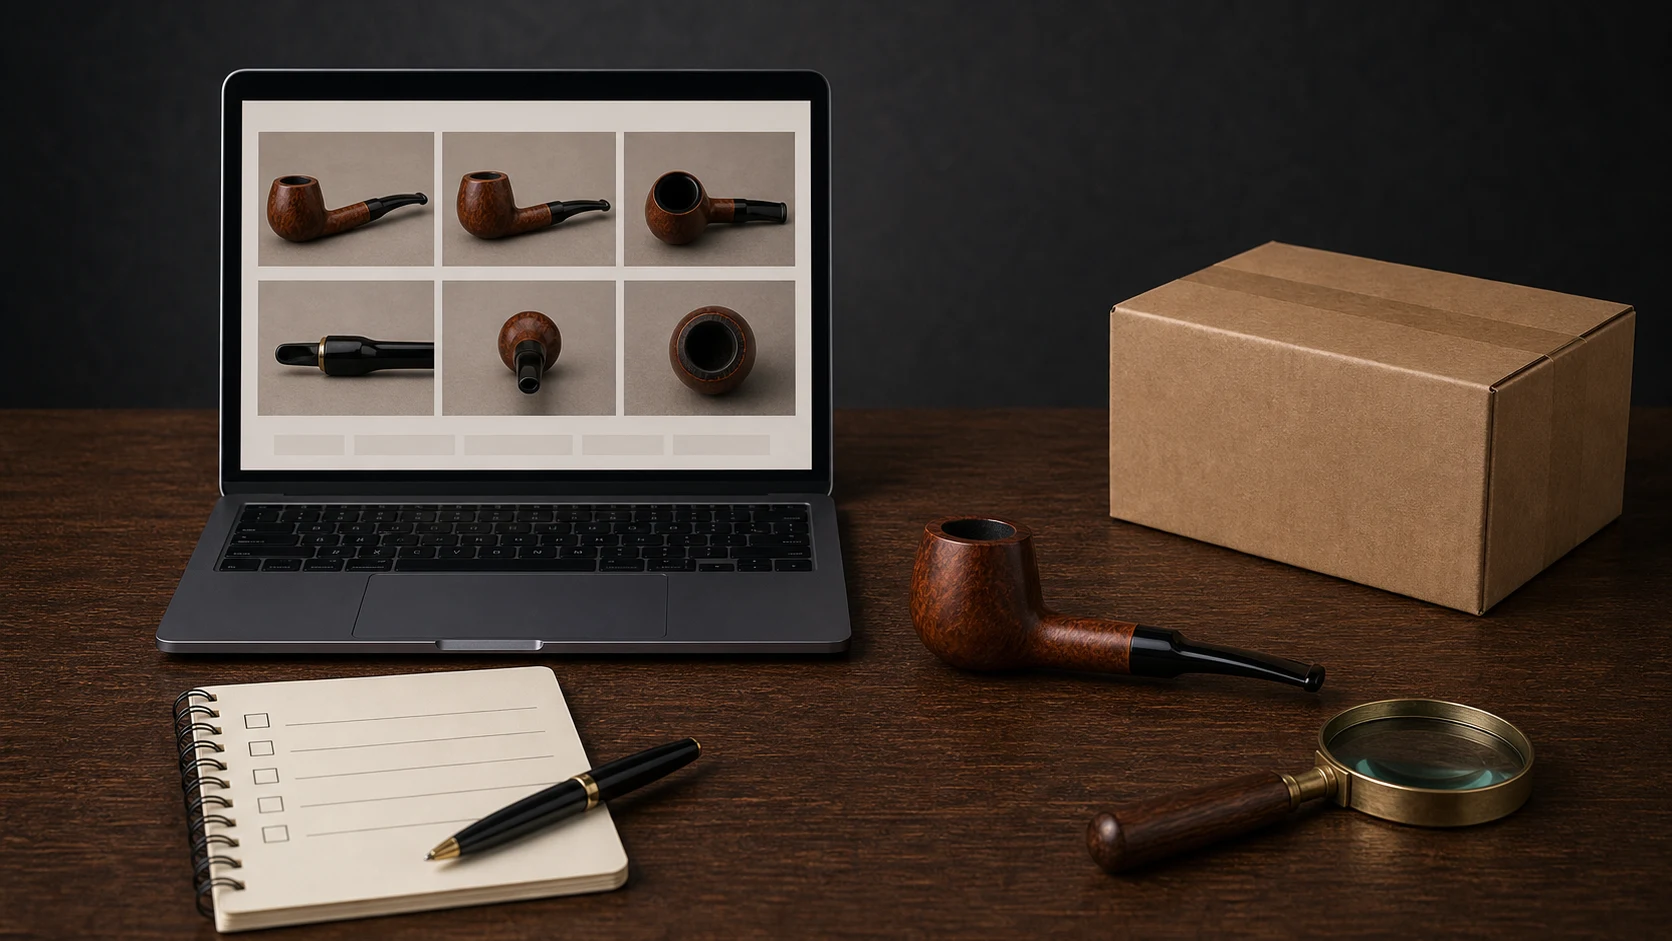
To inspect a tobacco pipe before buying online, use the photos to compare only what they can actually show: the bowl, shank, stem, exterior finish, visible joints, and the range of supplied angles. Keep dimensions, weight, internal condition, origin, filter compatibility, included items, and other hidden specifications marked unknown unless the listing states them.
The goal is not to “diagnose” a pipe from pixels. It is to build two lists: confirmed visual observations and questions that the seller or product page still needs to answer. Start with identity, move through coverage, and finish with an unknowns list. That order is the complete method.
Photo review is only one part of an order decision. Use the online-buying checklist for the separate age, destination, seller, checkout, shipping, and return checks that images cannot settle.
Start with the evidence hierarchy
| Evidence level | Examples | How to use it |
|---|---|---|
| Visible in several product photos | Overall silhouette, broad bend, exterior finish, visible rim | Compare appearance while allowing for lighting and perspective |
| Stated in the individual listing | Material, condition, dimensions, maker, origin, filter information | Treat as product-specific text, then check for conflicts |
| Implied by a title or category | “Pocket,” “long,” “handmade,” “3mm,” “system” | Check the term and what it means on that product |
| Not shown or stated | Internal condition, exact fit, package contents, repair history | Ask the seller or keep it unknown |
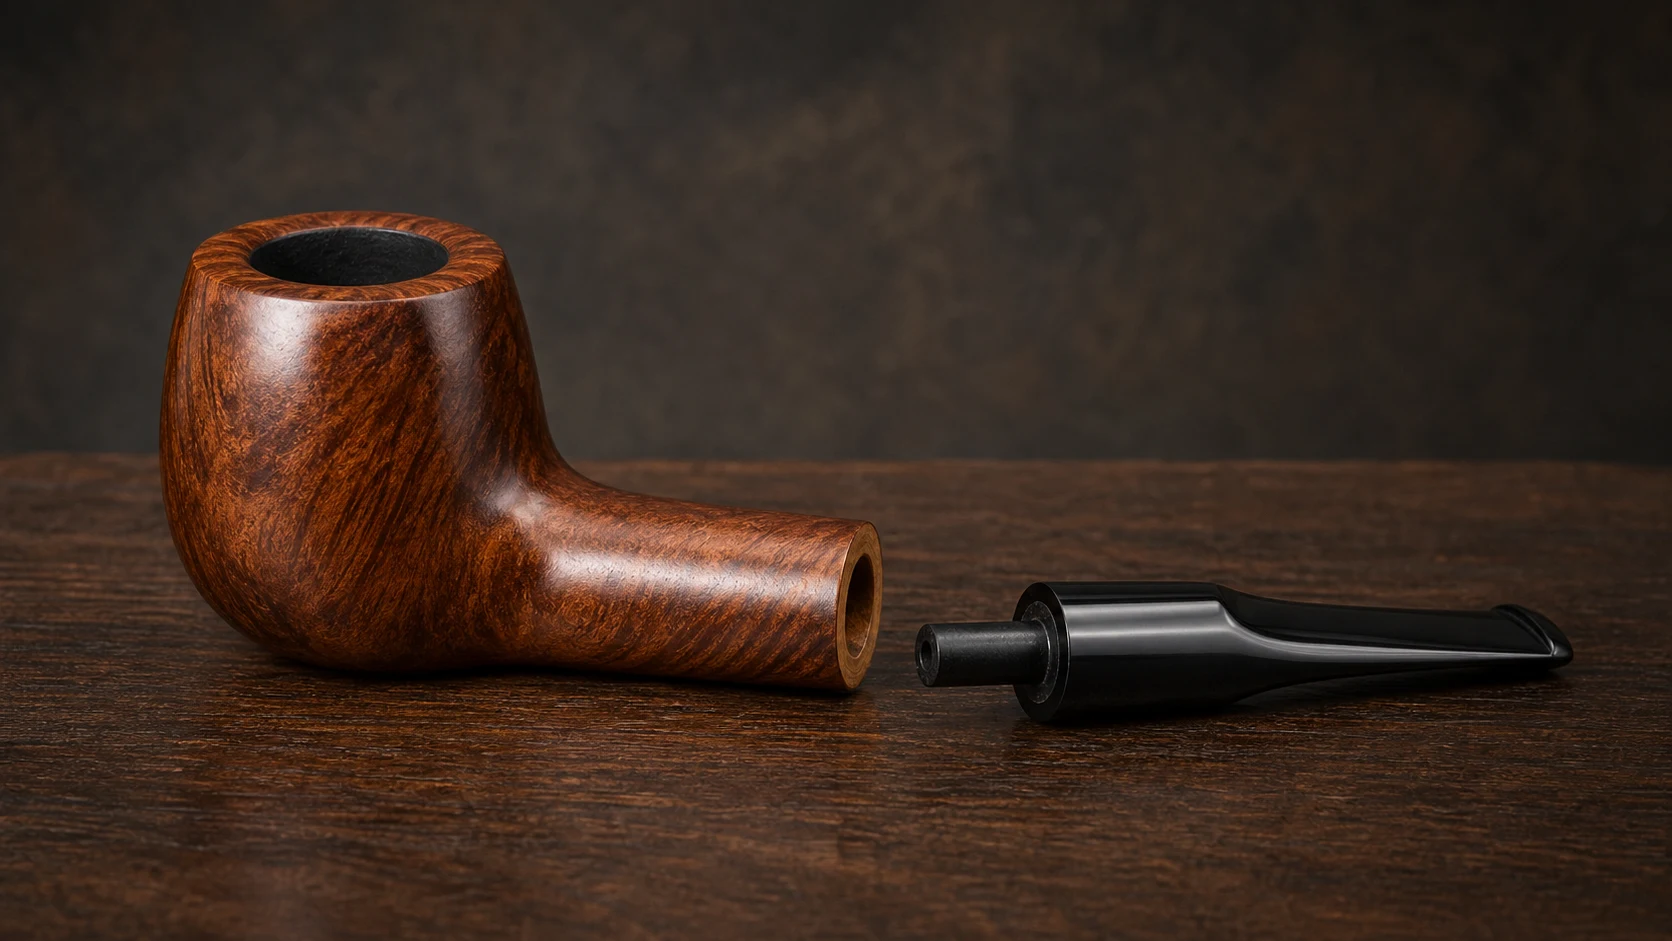
Editorial banners and atmospheric still lifes are not product evidence. Use the images attached to the individual product page when judging that product. If a part name is unfamiliar, use the pipe-anatomy guide before writing your observations.
Worked example: inspect one real eight-image listing
The current Prince Apple product page exposes eight R2 image paths for the same catalog record. The paths were opened individually on July 18, 2026. This is a desk review of existing catalog media, not a physical inspection and not first-hand evidence of material, dimensions, condition, fit, or prior use.
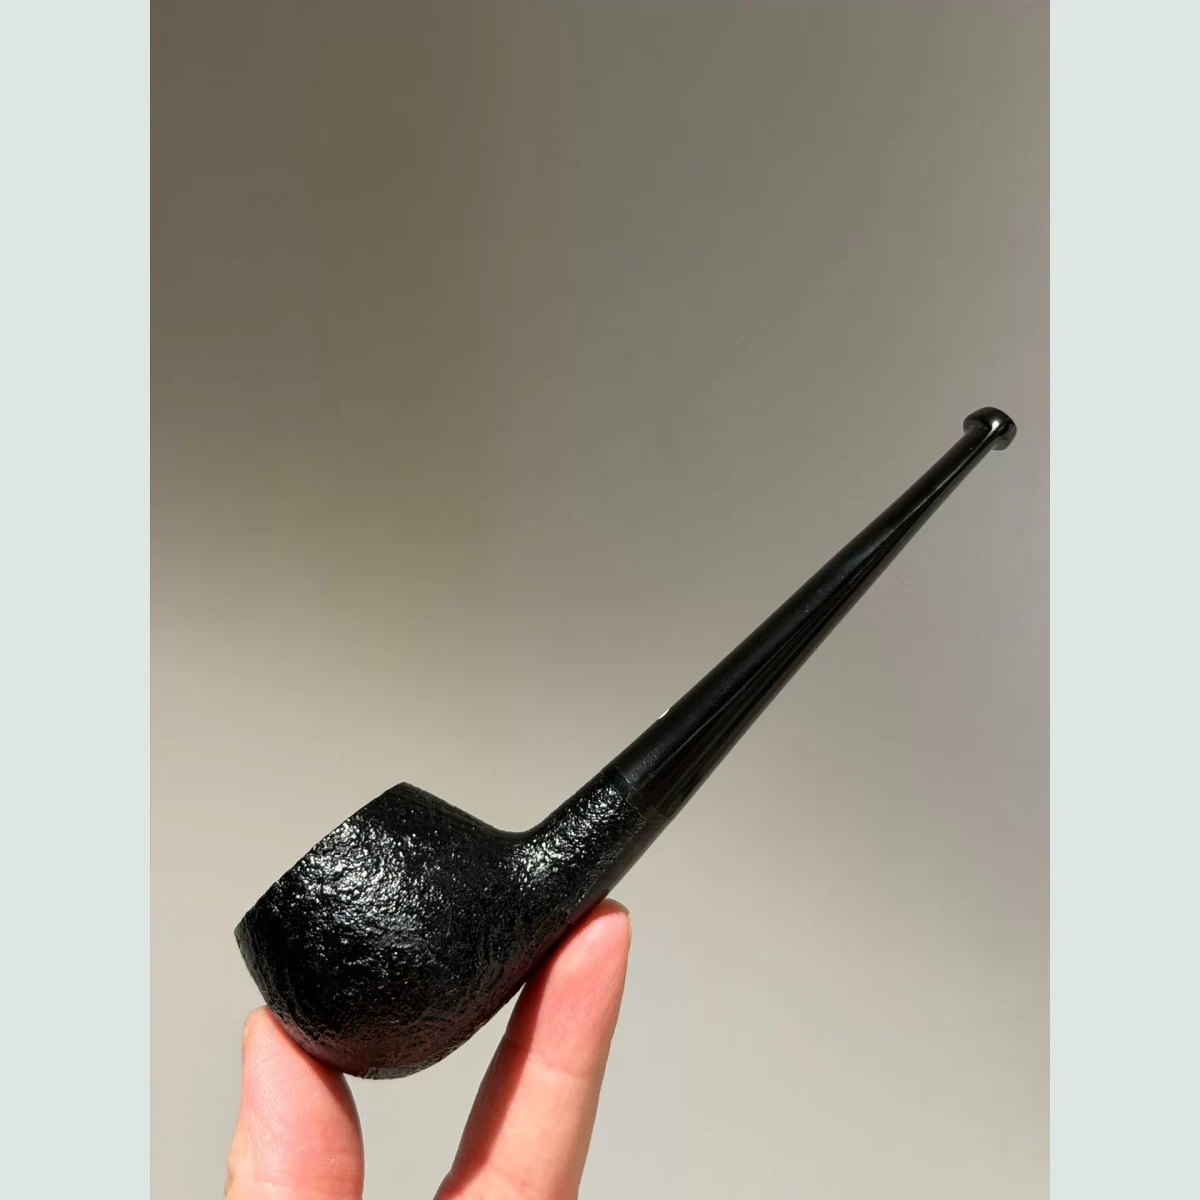
Image 2 is a side view. It supports a silhouette comparison, but the hand is not a calibrated scale and the view cannot measure length or weight.
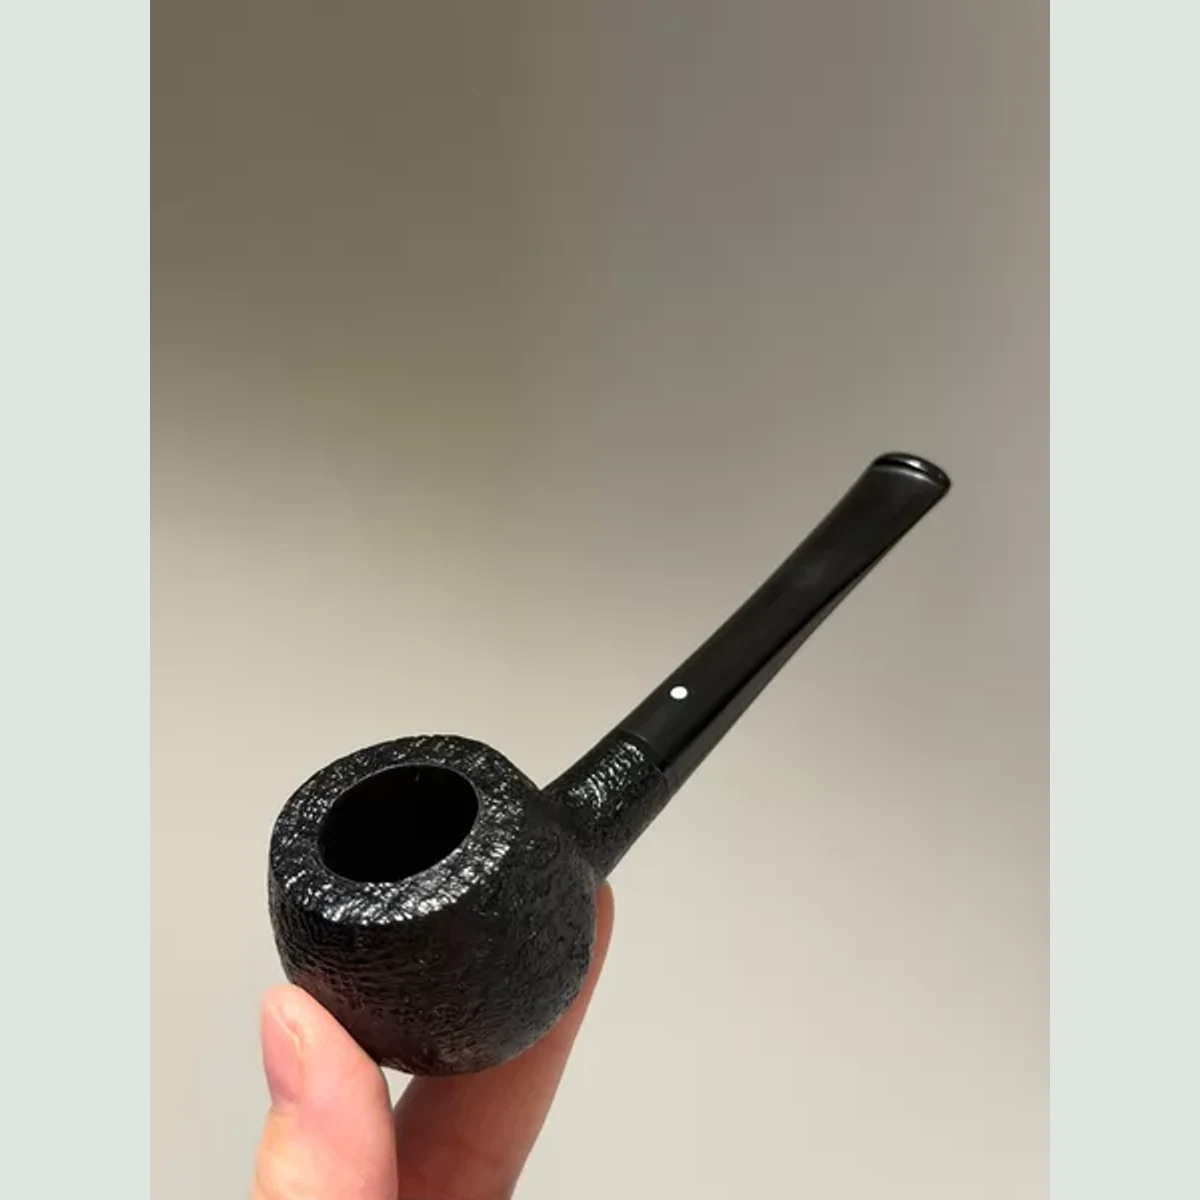
Image 1 brings the rim and chamber opening into view. The dark interior still does not reveal chamber depth, complete internal condition, or cleaning history.
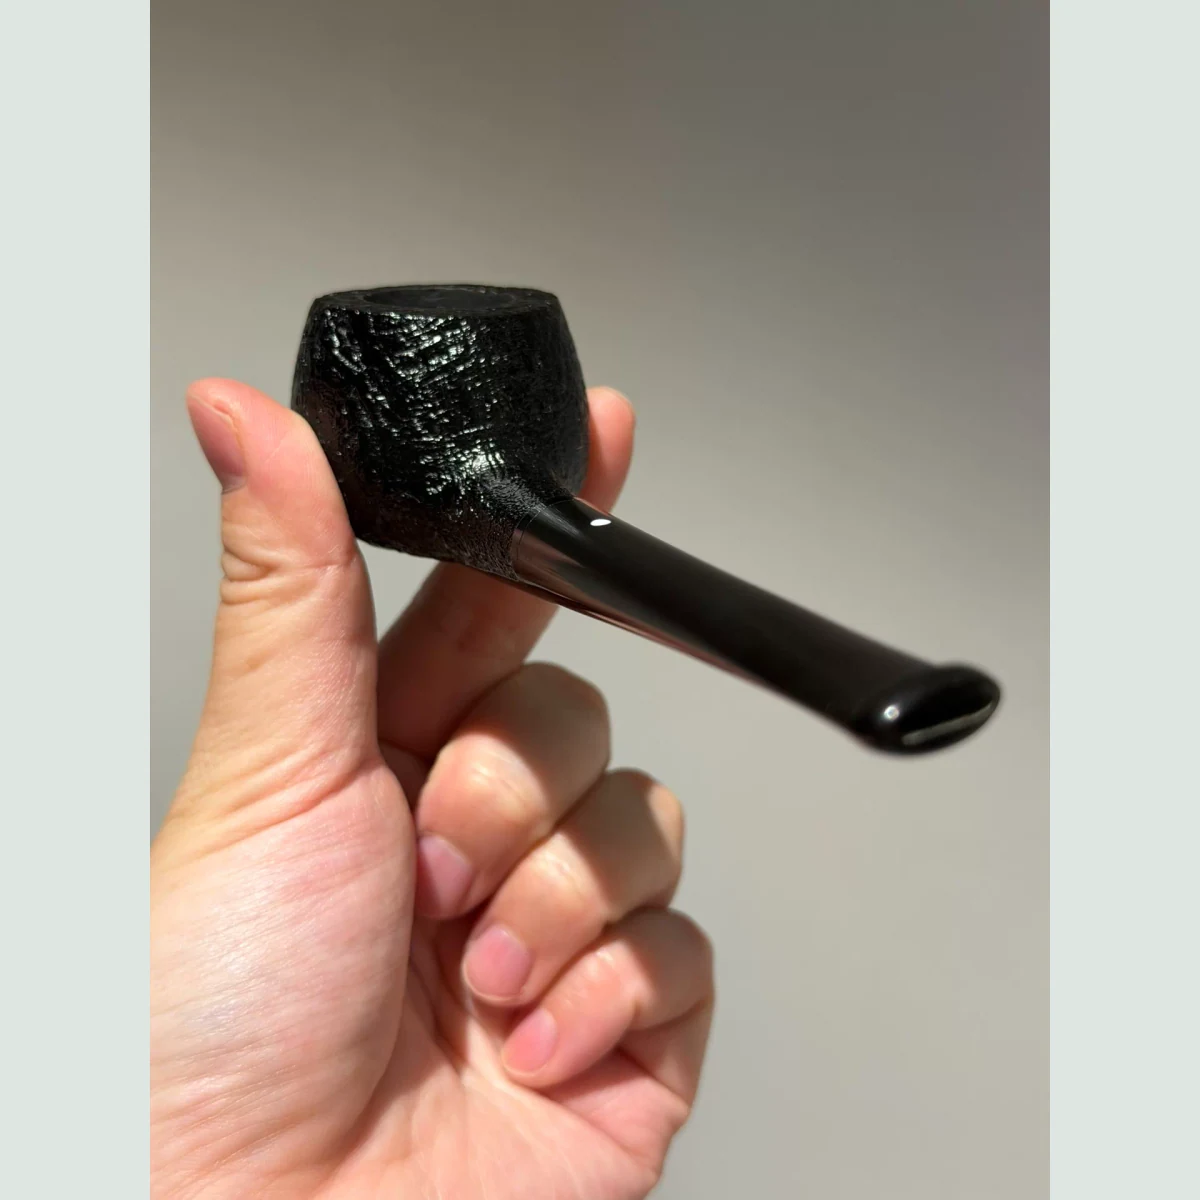
Image 8 adds a rear bowl-and-stem angle. It does not show a disassembled joint, tenon, airway, filter system, or a straight-on close-up of the mouthpiece opening.
The value comes from comparing the paths, not from treating any one image as a complete inspection:
| Actual R2 image | What this view can support | What remains unconfirmed | Useful additional photo |
|---|---|---|---|
| Image 1: three-quarter top | Rim outline, visible chamber opening, stem line, and exterior texture in this lighting | Chamber depth, complete internal condition, dimensions, and material | Evenly lit, straight-down chamber close-up with the full rim in focus |
| Image 2: side profile | Apple-like bowl silhouette, bowl-to-shank transition, stem line, and visible finish | Exact length, weight, stem material, joint fit, and opposite-side condition | Measurement photo with a reliable scale and a close-up of the shank-to-stem junction |
| Image 7: rear bowl surface | Coverage of another bowl surface and the visible texture | Base and underside, surfaces hidden by the hand, and whether a mark is lighting or condition | Unobstructed underside and base view under neutral light |
| Image 8: rear stem angle | Another bowl-and-stem relationship and the exterior mouthpiece profile | Button opening, airway, tenon, filter system, and internal alignment | Straight-on button/slot close-up plus a safely supplied disassembled joint view |

The other four paths add more top, side, and rear surface coverage, but none of the eight supplies a calibrated scale, a clear unobstructed underside, a disassembled joint, or a diagnostic interior view. The source images were also upscaled and padded for the storefront; that presentation does not create detail that was absent from the original files.
Step 1: establish that the image set belongs to the product
Before inspecting details, establish what the photos represent. Read captions, image notes, and the product description for terms such as “exact item,” “representative image,” or “color may vary.” If the page does not clarify, ask.
Look for consistency across the image set:
- Does the bowl shape remain the same from one angle to another?
- Do finish patterns and stem color appear consistent?
- Are the same marks or distinctive features visible in multiple views?
- Does a group photo contain objects not named in the written contents?
- Are any images clearly editorial rather than product-specific?
Differences can result from lighting, compression, or camera settings. They can also indicate that a photo is representative. Record the conflict and ask which image represents the product instead of choosing the most convenient answer.
Step 2: read the full silhouette
Begin with a complete side view. It is the most efficient way to compare bowl shape, shank line, stem bend, and overall length profile.
Record only broad observations:
- straight, slightly bent, bent, or full-bent source label;
- rounded, tapered, cylindrical, faceted, or sculptural bowl appearance;
- compact, standard-looking, or extended profile;
- straight, rising, or curved visible stem line;
- whether the base appears shaped like a sitter.
Do not convert relative appearance into measurements. Nikon's focal-length guide explains that focal length changes angle of view and magnification; framing and camera distance can therefore make two product photos poor scale comparisons. “Compact” in a photograph is not the same as a stated length.
For a structured overview of these comparison terms, see the briar pipe product guide.
Step 3: inspect the bowl exterior and rim
Use front, side, rear, and top views when available. A single flattering angle can hide much of the bowl.
On the exterior, compare:
- the consistency of the stated smooth, rusticated, sandblasted, carved, or other finish;
- visible color transitions under different lighting;
- grain or texture that appears in more than one photo;
- the junction where the bowl meets the shank;
- visible marks that the listing itself discusses.
At the top, look at the supplied view of the rim and chamber opening. You may be able to describe what is visible, but you cannot establish the entire chamber condition from a top photograph. Shadow, depth, focus, and residue can all limit the evidence.
Avoid claims such as “perfect,” “unused,” or “fully restored” unless the condition field states them. Visual cleanliness is not a substitute for a condition description.
Step 4: follow the shank and stem line
Trace the visible line from bowl to mouthpiece. Compare how the shank and stem meet, whether the bend appears consistent across side views, and whether close ups show the exterior joint.
A photograph may reveal a visible gap or offset, but it cannot measure fit or explain the cause. Likewise, a flush-looking joint cannot prove internal alignment, tenon dimensions, or long-term fit.
For the stem, inspect:
- the exterior profile and supplied close-ups;
- visible color variation;
- the mouthpiece exterior;
- any stated saddle, army-mount, or other feature label;
- disassembled views, if provided.
Do not infer stem material from color. Do not assume a replacement will fit because its shape looks similar. Do not infer filter compatibility from the apparent size of an opening.
Step 5: compare the finish across angles
Finish is one of the strongest uses of online product photography, but it is also sensitive to light. Compare at least two views before describing color, grain, or texture.
A useful finish check asks:
- Is the same texture visible on both sides?
- Does the color change only where highlights and shadows change?
- Are close-ups sharp enough to support the listing's finish label?
- Does the description distinguish natural variation from a defect or repair?
- Are there areas the supplied angles never show?
Even a complete-looking photo set cannot prove origin, material grade, or a performance benefit from grain or surface treatment. Keep the conclusion at the visual level.
Step 6: audit the supplied angles
An image count alone does not establish coverage. Six near-identical side views may reveal less than four deliberately different angles.
For a rounded object with a joint and an opening, a useful set may include:
- full left-side profile;
- full right-side profile;
- front or three-quarter bowl view;
- top view of rim and opening;
- underside or base view;
- close-up of the bowl-to-shank transition;
- close-up of the shank-to-stem joint;
- mouthpiece view;
- disassembled view when relevant and safely supplied.
This is an inspection request list, not a required photography standard for every seller. Ask for the missing angle only when it affects your decision.
The worked example above shows why the count is not a quality score. Eight paths cover several sides, the rim, and more than one stem angle, yet still leave the base, internal chamber, disassembled joint, mouthpiece opening, and reliable scale unresolved. Apply the same coverage audit to other products in the pipe shop.
Step 7: separate the pipe from props and package contents
Stands, pouches, boxes, tools, filters, cloths, and decorative objects may appear in a photograph. They are included only when the listing says they are.
Create a written contents list from the description, not from the photo. If an object appears important but is not named, ask whether it is included, optional, or a prop. The same rule applies to branded boxes or paperwork; appearance does not prove authenticity, provenance, or inclusion.
The FTC's online-shopping guidance is a useful final cross-check: read the full description, total cost, delivery, and return terms rather than letting the image set carry the whole decision.
What photos cannot answer
Keep a visible “unknown” column while inspecting. Common unknowns include:
- exact dimensions and weight;
- complete internal condition;
- airway diameter or alignment;
- tenon measurements and stem fit;
- cleaning or repair history;
- new, used, restored, or estate condition;
- material, maker, or country of origin;
- filter compatibility;
- current stock and source availability;
- included items and accessories;
- shipping time and final checkout total.
Some of these facts may be stated elsewhere on the page. The point is that the photograph alone does not establish them.
For condition specifically, the new, used, restored, or unknown guide explains why a clean-looking surface cannot replace an explicit product label.
Questions to ask before ordering
Turn every important unknown into a specific question:
- What are the exact overall length, bowl height, chamber measurements, and weight, if available?
- How is the condition classified on this exact item?
- Is the pictured pipe the exact item that will be shipped?
- What material, maker, and country of origin are stated?
- Is filter compatibility stated, and what supported size is named?
- Which photographed objects are included?
- Can the seller provide a missing angle of the rim, joint, base, or stem?
- Is the item currently in stock, and what will checkout show for shipping and total?
Ask only for facts that influence your decision, but do not replace an answer with a visual guess.
A final 60-second photo checklist
Before moving from inspection to checkout, check that you have:
- viewed the complete silhouette;
- compared both sides when available;
- inspected the bowl, rim, shank, stem, and visible joints;
- compared the finish under more than one angle;
- distinguished product photos from editorial images;
- separated props from confirmed included items;
- written down hidden specifications that still matter;
- checked the listing text for condition and measurements;
- asked questions where the photo set is incomplete;
- rechecked current price, stock, shipping, and returns.
Frequently asked questions
Do eight product photos mean the pipe is fully documented?
No. The Prince Apple example covers several sides and the rim, but it still lacks a reliable scale, a clear underside, a disassembled joint, a straight-on mouthpiece opening, and a view that can establish complete internal condition.
Can the hand in a product photo be used as a size reference?
Not reliably. Hand size, camera distance, perspective, and framing vary. Use a stated measurement or ask for an image with a calibrated scale when size controls the decision.
Which missing views are most useful to request?
Ask for the specific gap that matters: an unobstructed base, a neutral-light rim and chamber view, a close shank-to-stem junction, a straight-on mouthpiece opening, or a safely supplied disassembled view. A request for “more photos” is less useful than naming the unresolved surface or joint.
Can a photo prove that a pipe is new or restored?
No. It may show visible surfaces, but condition should be explicitly stated for the exact product. A clean-looking photo does not establish cleaning history, internal condition, repair history, or restoration status.
Does a clear close-up prove condition or restoration history?
No. A close-up can document the visible surface in that frame. Condition and restoration history still require an explicit product statement or a qualified physical inspection.
Good online inspection is disciplined, not speculative: describe what the images show, name what they omit, and resolve the unknowns that matter before ordering.
Related posts
Product notes, store updates, and purchase guidance for the storefront.